Walnut Headphone Stand and Audio Case

A past client reached out and asked if I could commission and build a headphone stand and case for some desk top audio equipment.

She sent over some pictures for inspiration and gave some basic direction for the scope of work.

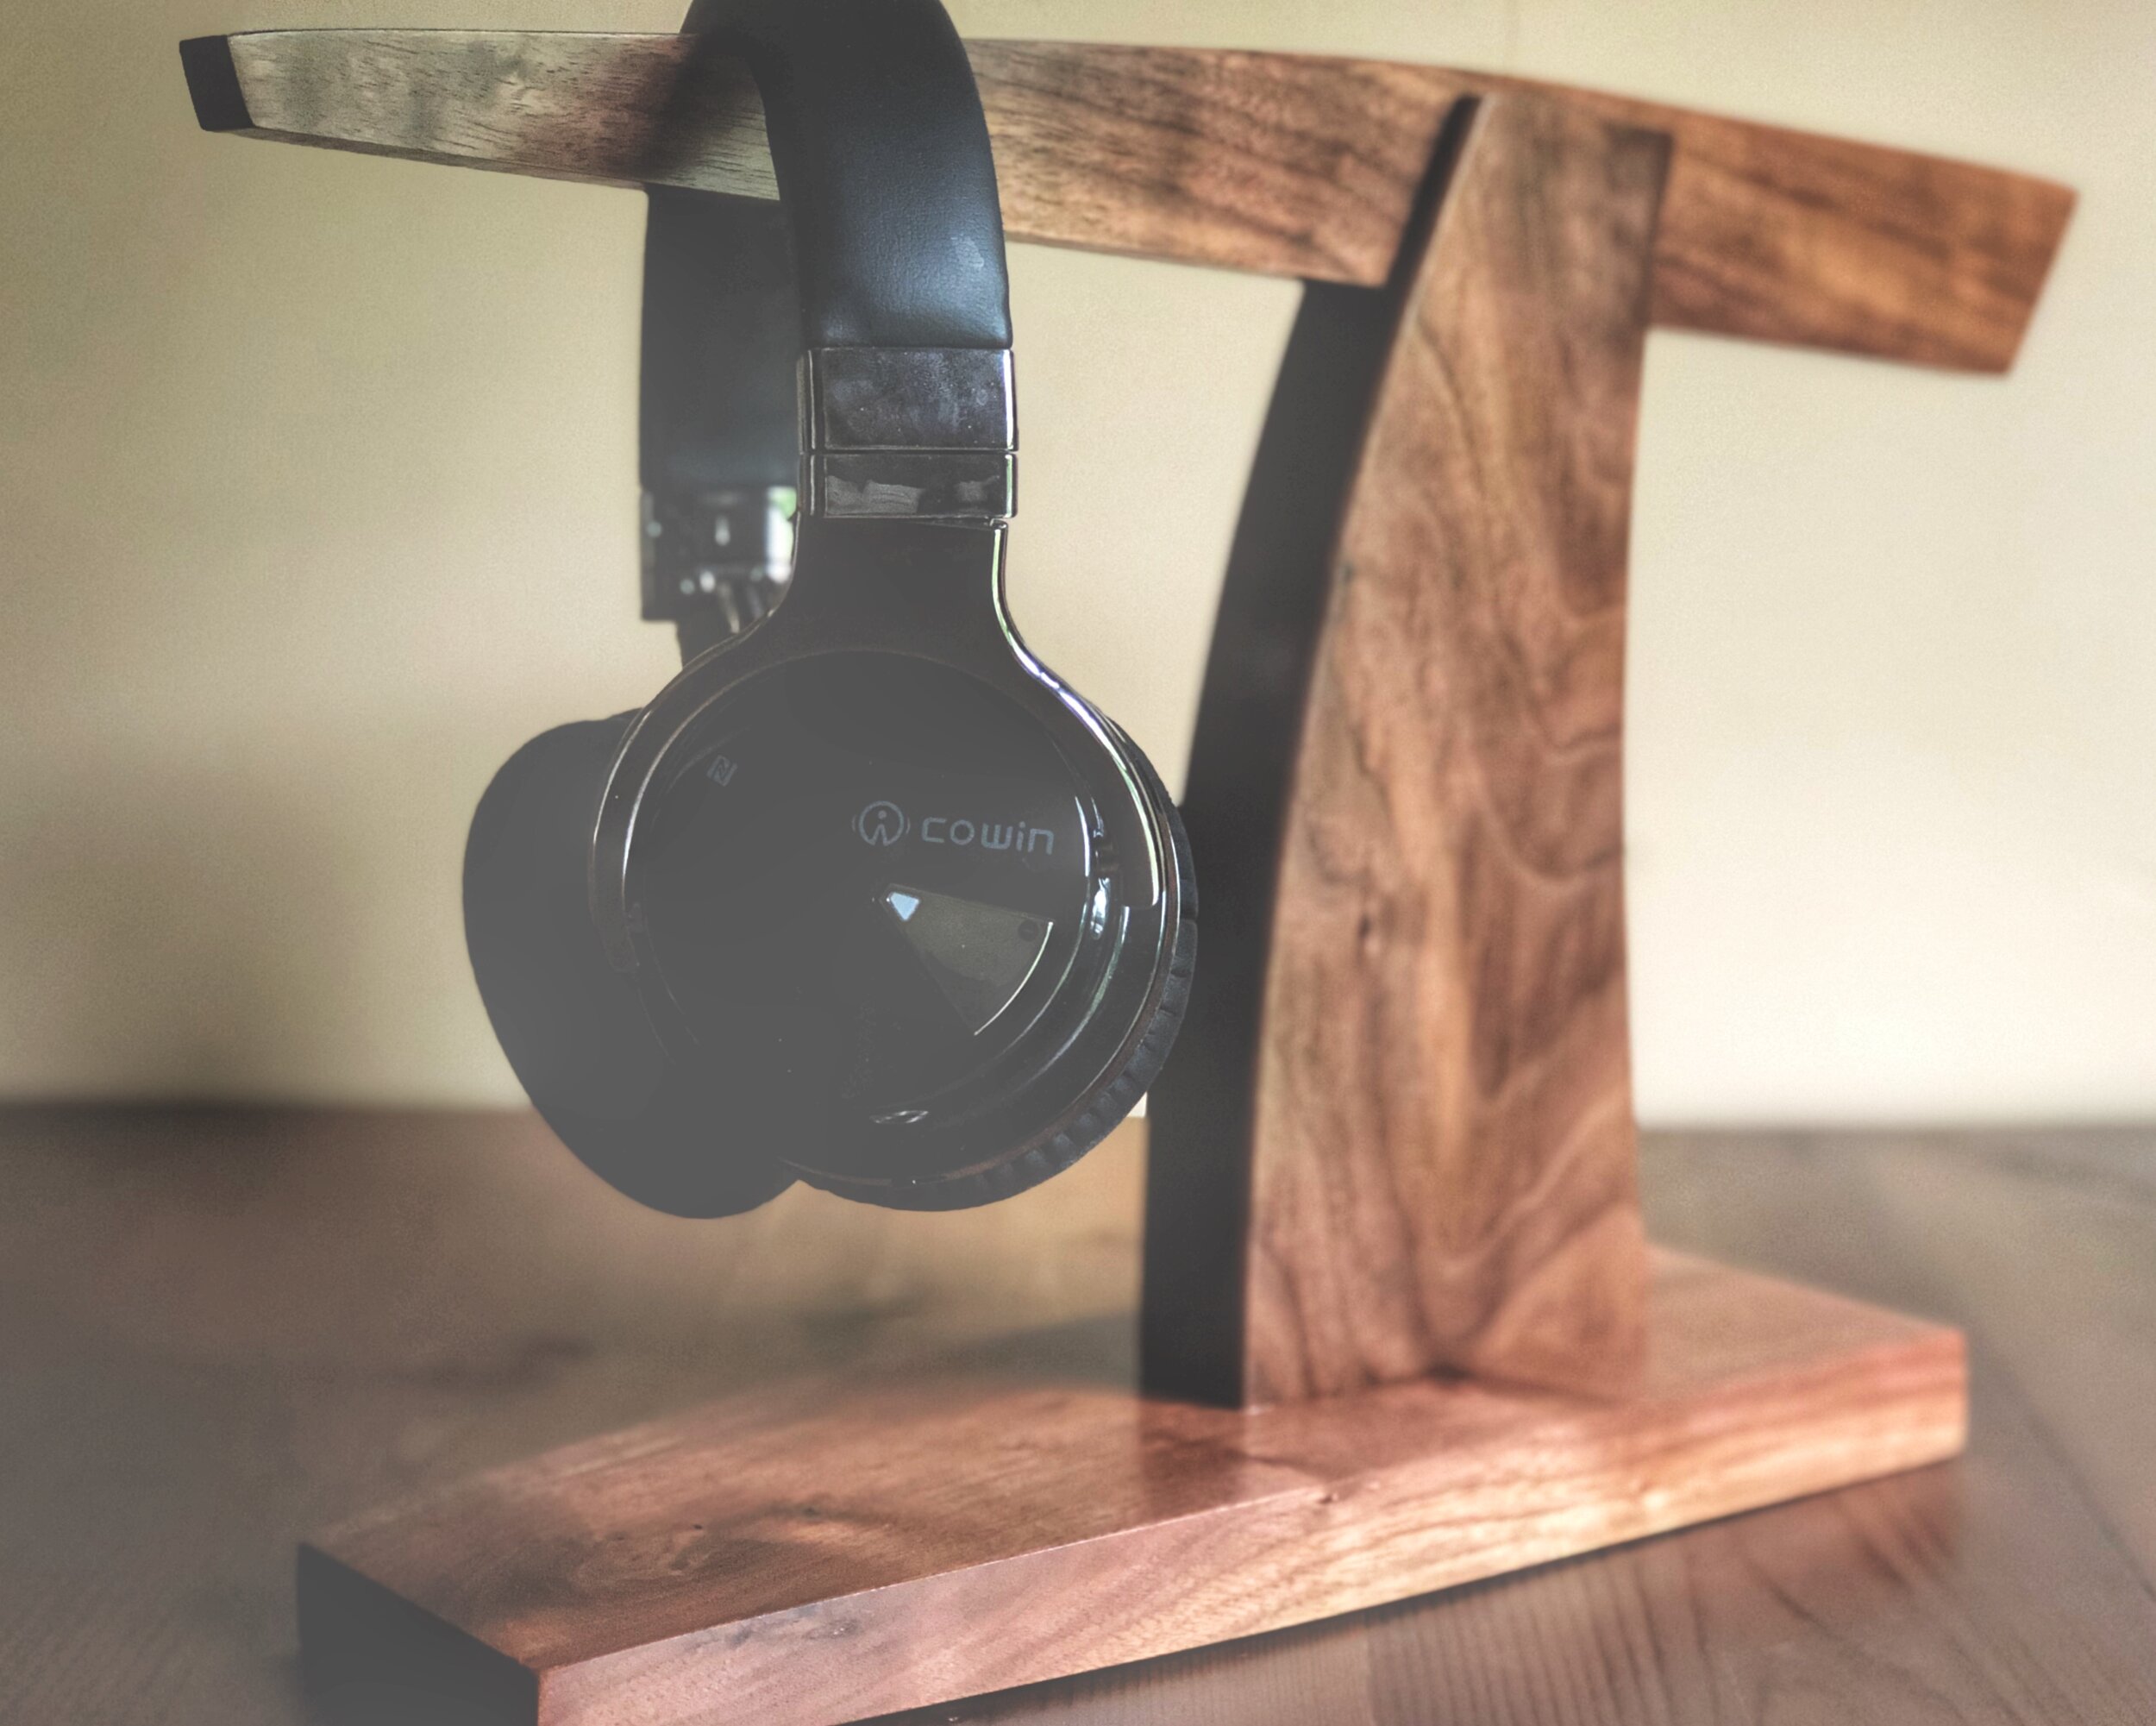
“ I don't really have anything exact in mind. The only thing I really need is for the stand to hold the headphones in a way so the ear pads don't get crushed. So preferably they'll hang by the headband. Besides that, I'll leave everything else up to you.”

” feel free to make this as simple or complex as you'd like, or whatever is easiest/best for you or whatever you feel inspired to do.”

Anybody who knows me personally, knows this creative freedom is like opening Pandora’s box.

When a client gives free creative freedom, these are the projects that really energize me and keep me up at night. For me this is the crossover from maker to artist. This is truly the biggest compliment, the client trusts me enough to design, create, and build them a completely custom project.

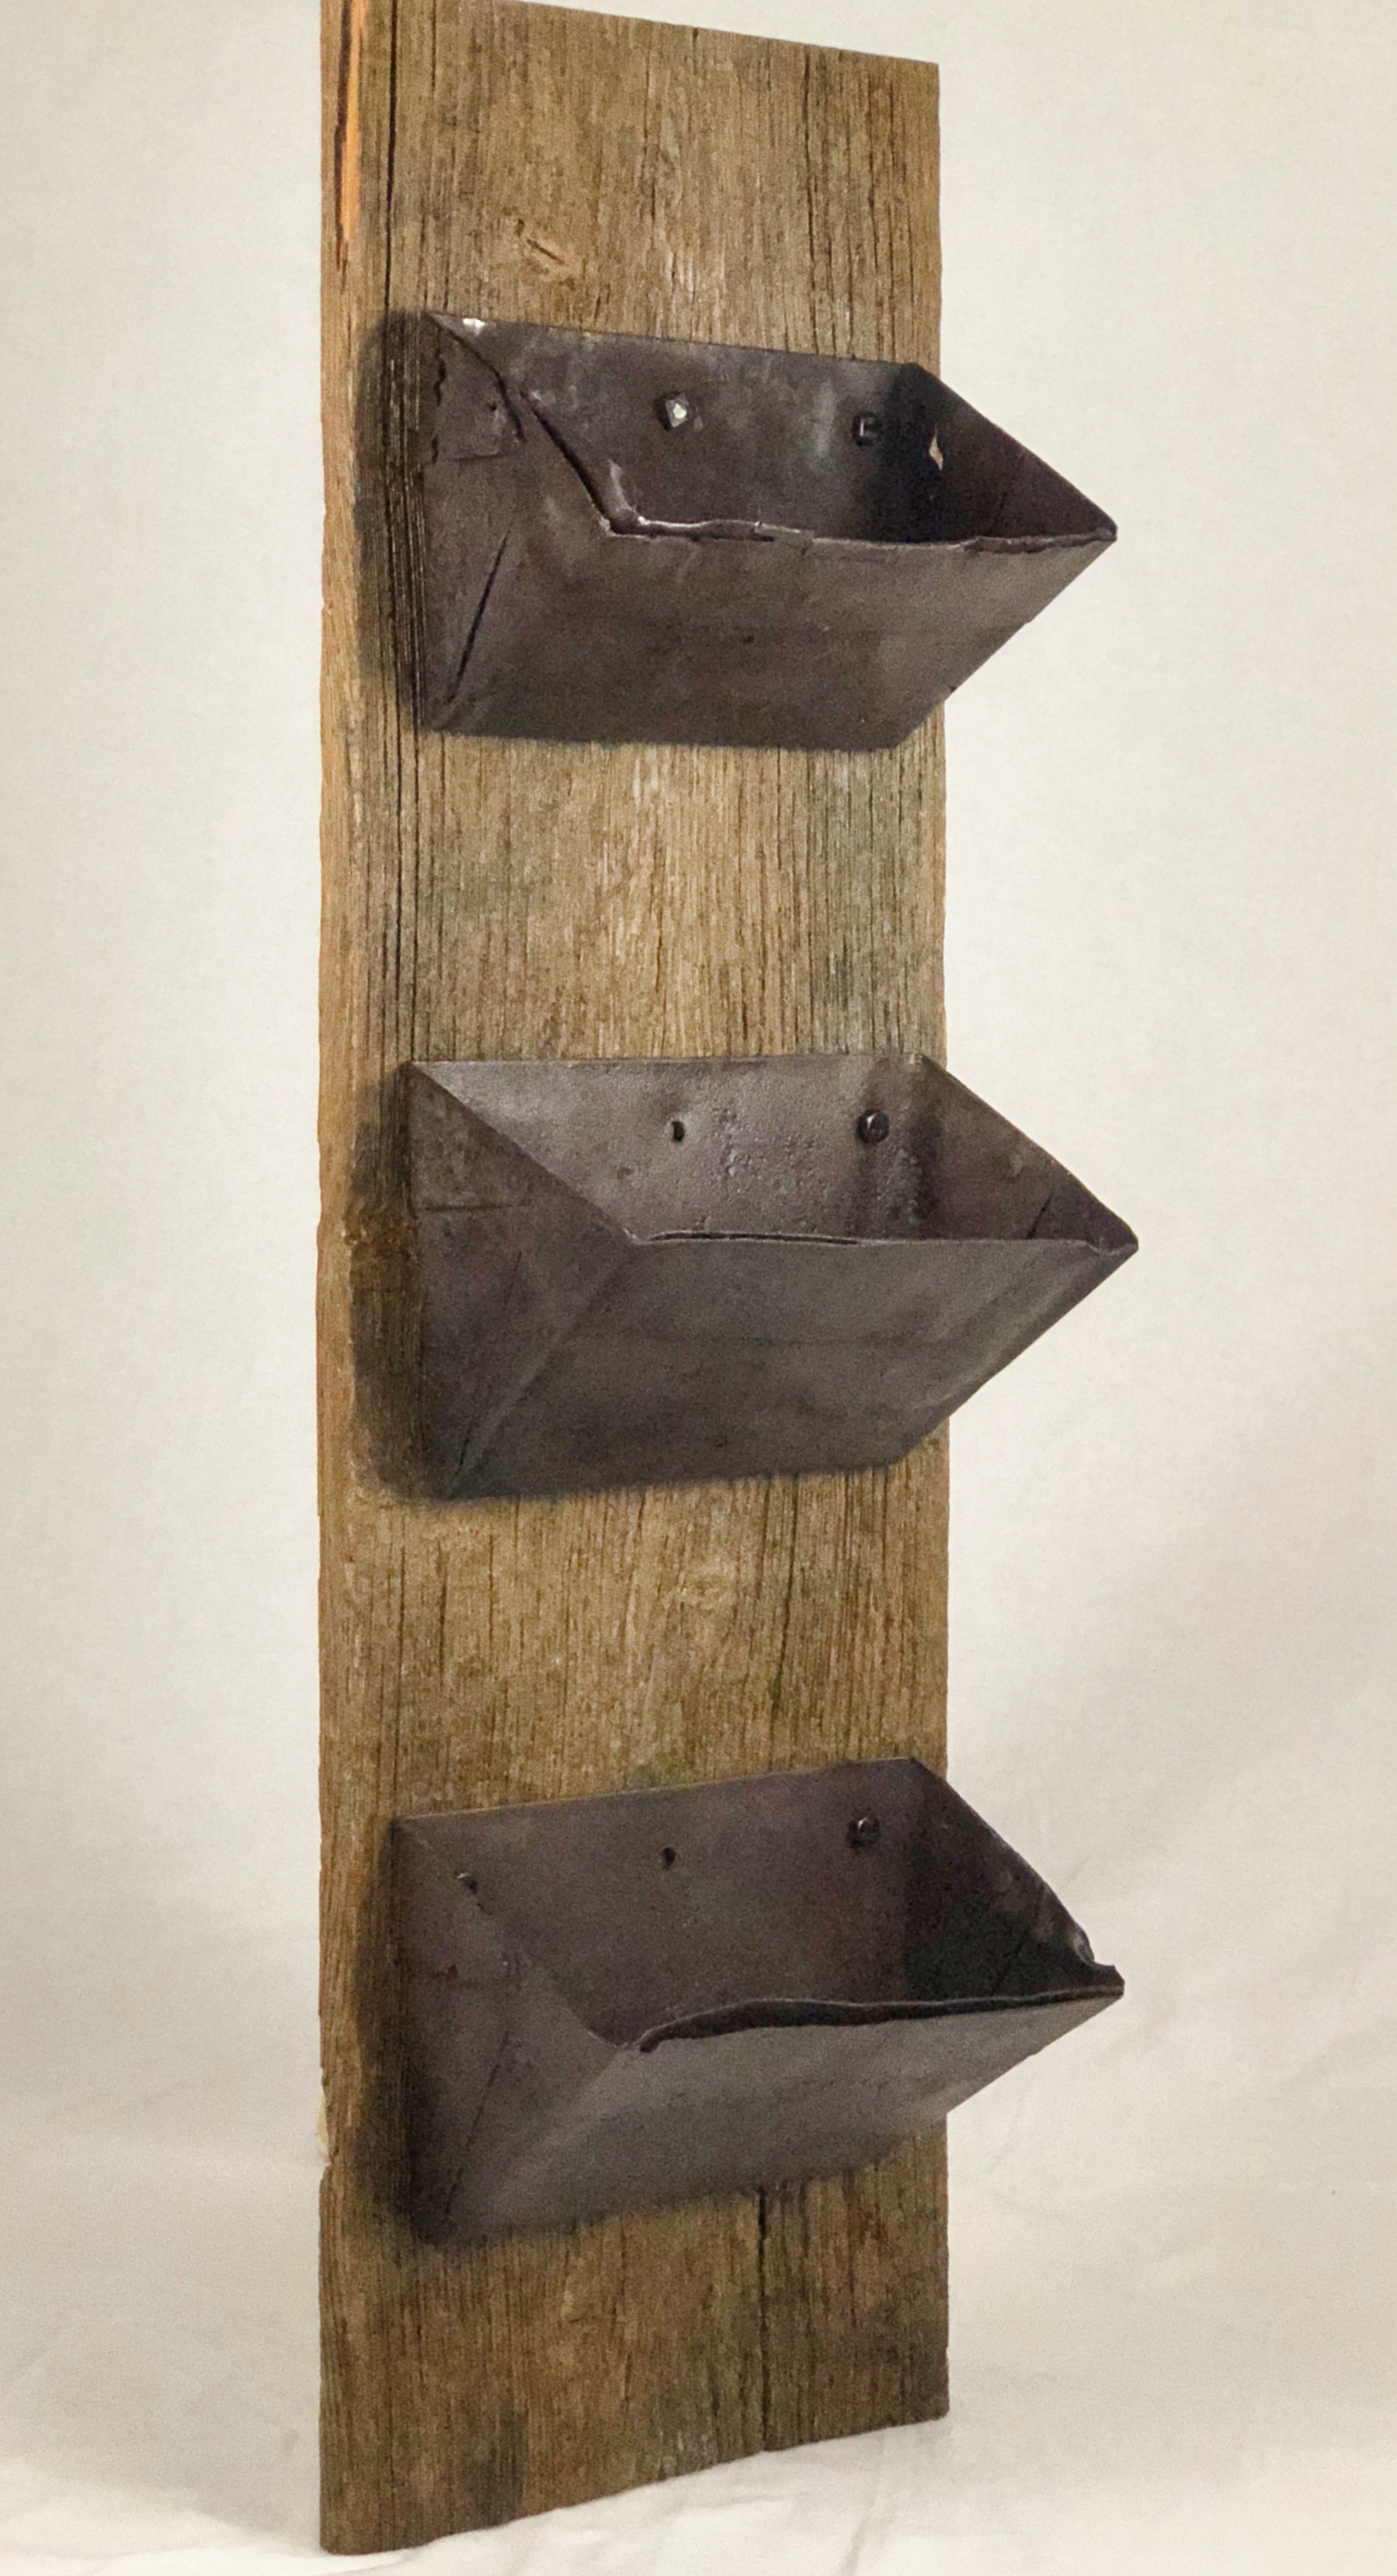
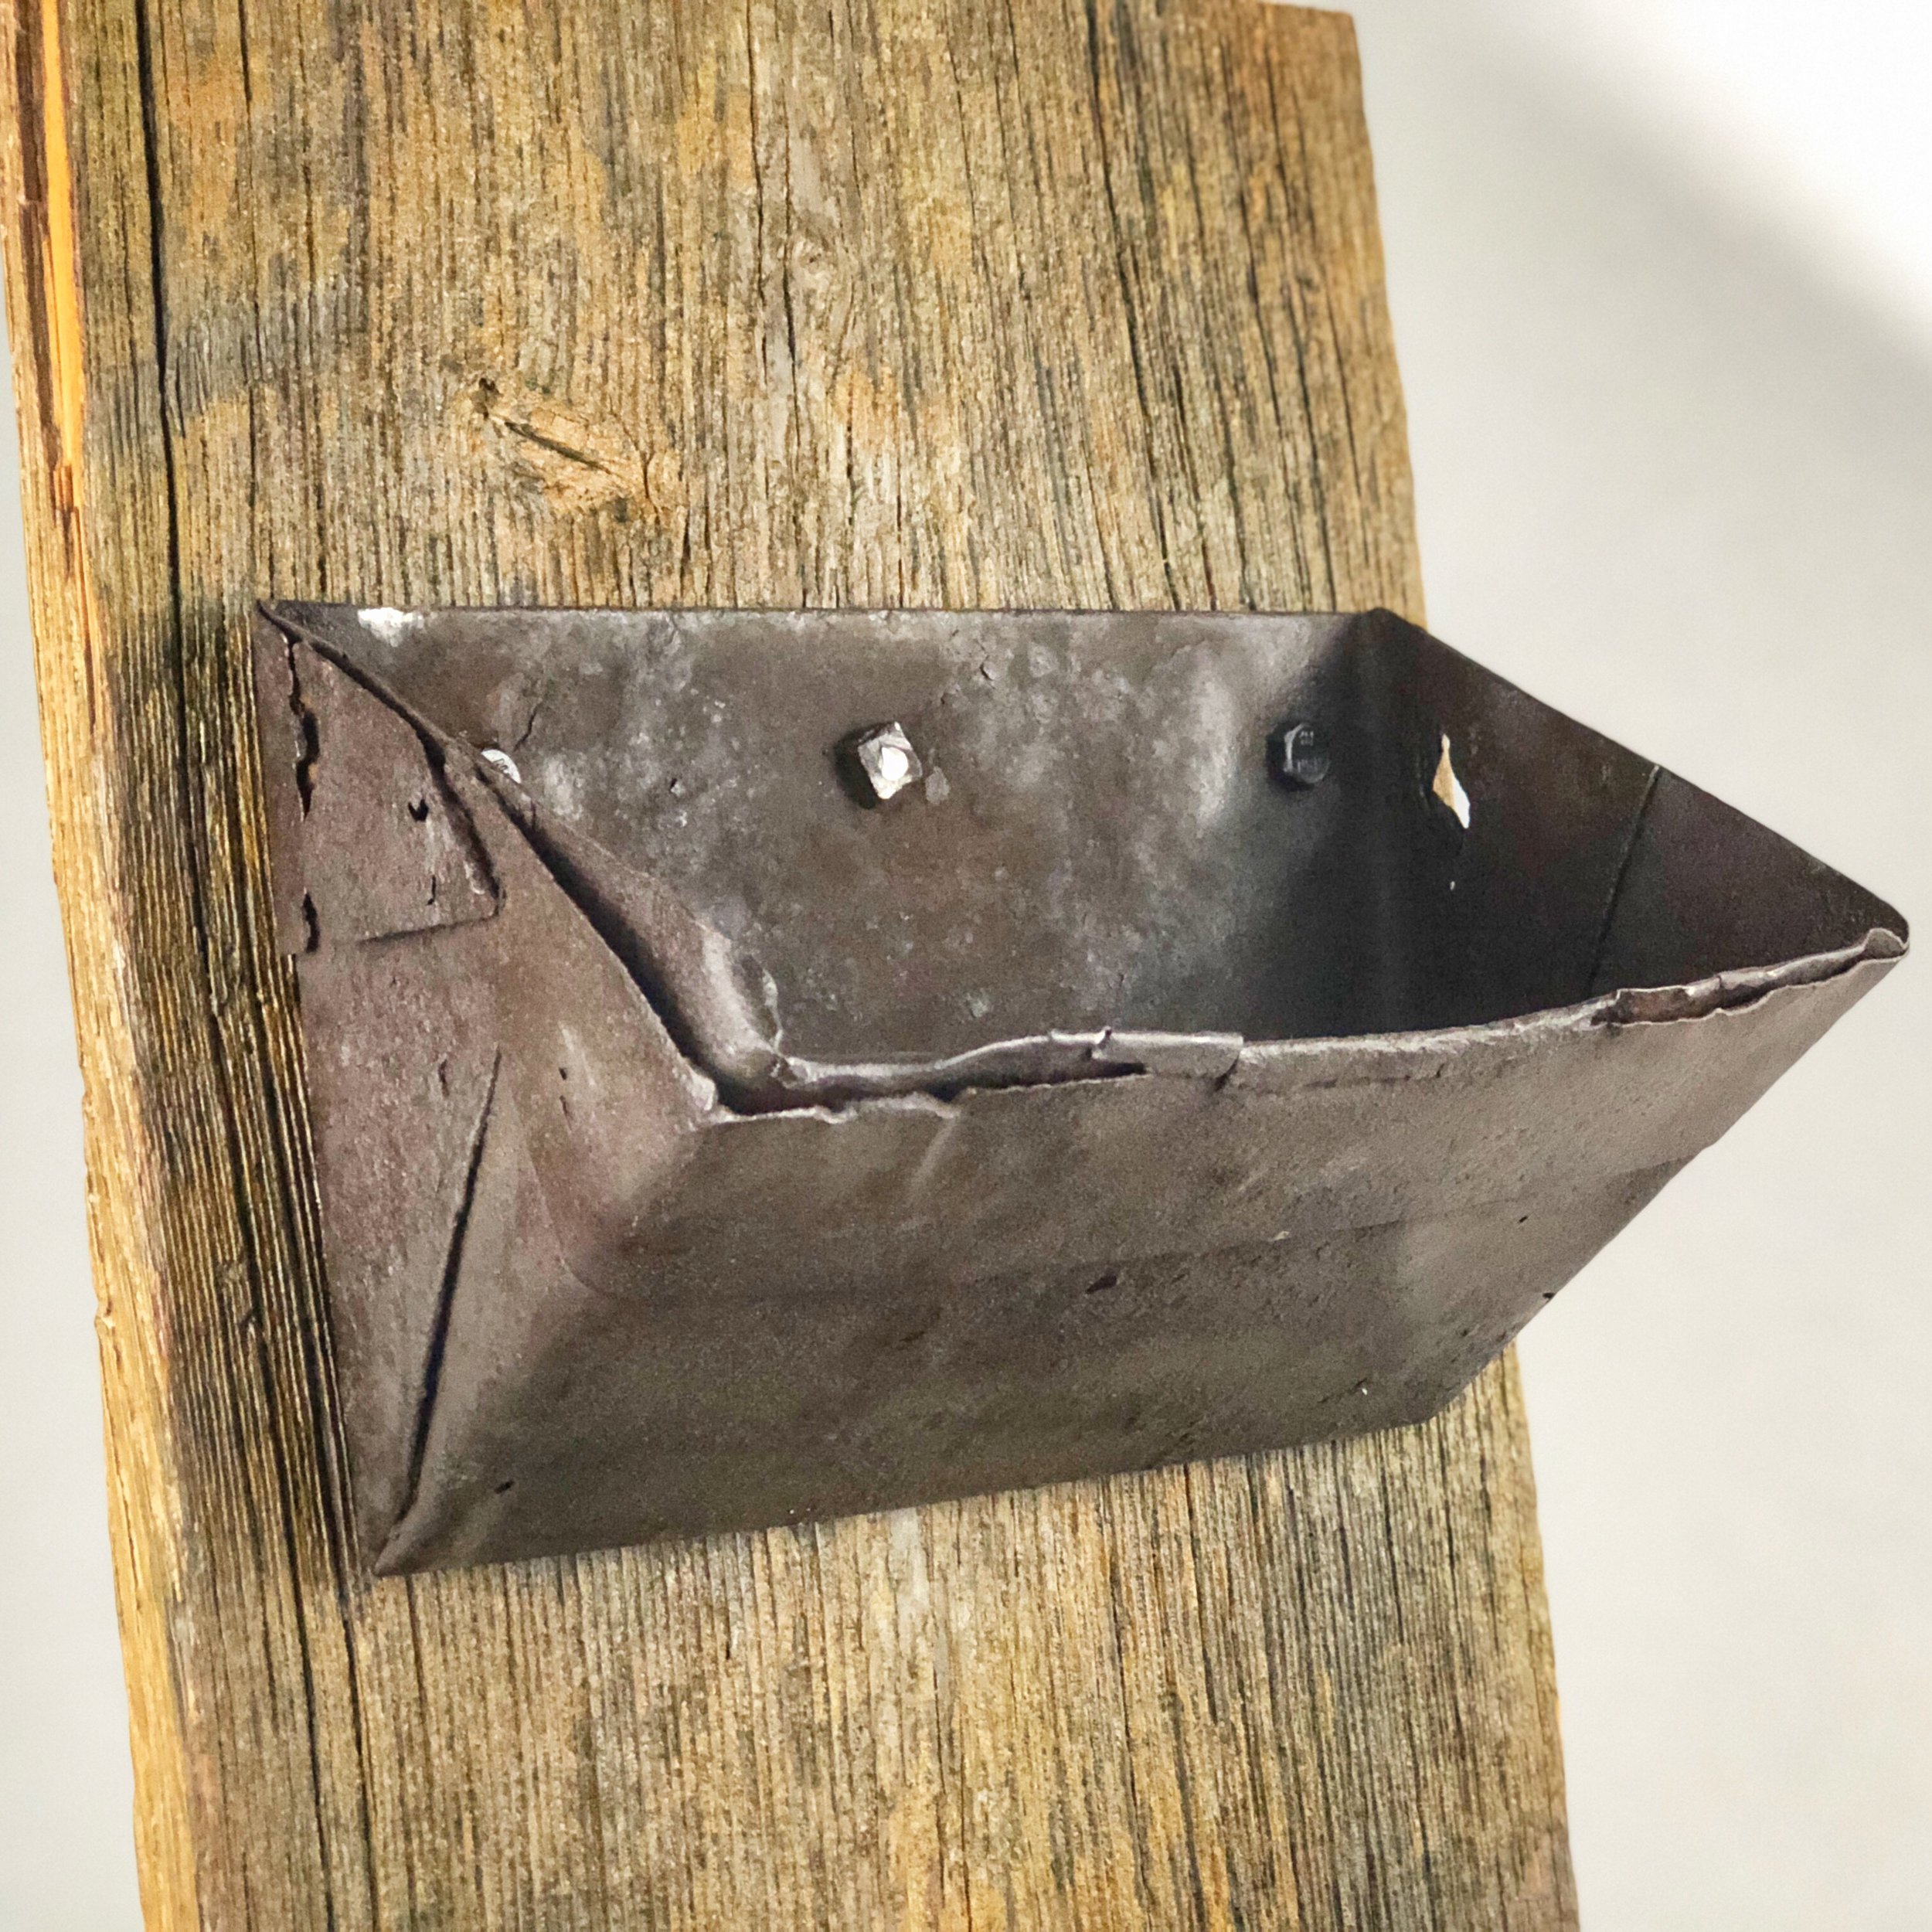
My initial design with this headphone stand was to go the complicated route and incorporate a couple types of joinery. I sketched out a design and found some thicker pieces of cherry. I was going to use bridal joints for the “arms” and a bigger sliding dovetail to connect the “arms” to the base. After cutting some of the joints, something was just out of joint (yes, pun intended ;) ). I could see where the idea was going but it was just off. The pieces were going to end up in the burn pile, instead they went to the spare parts bin.

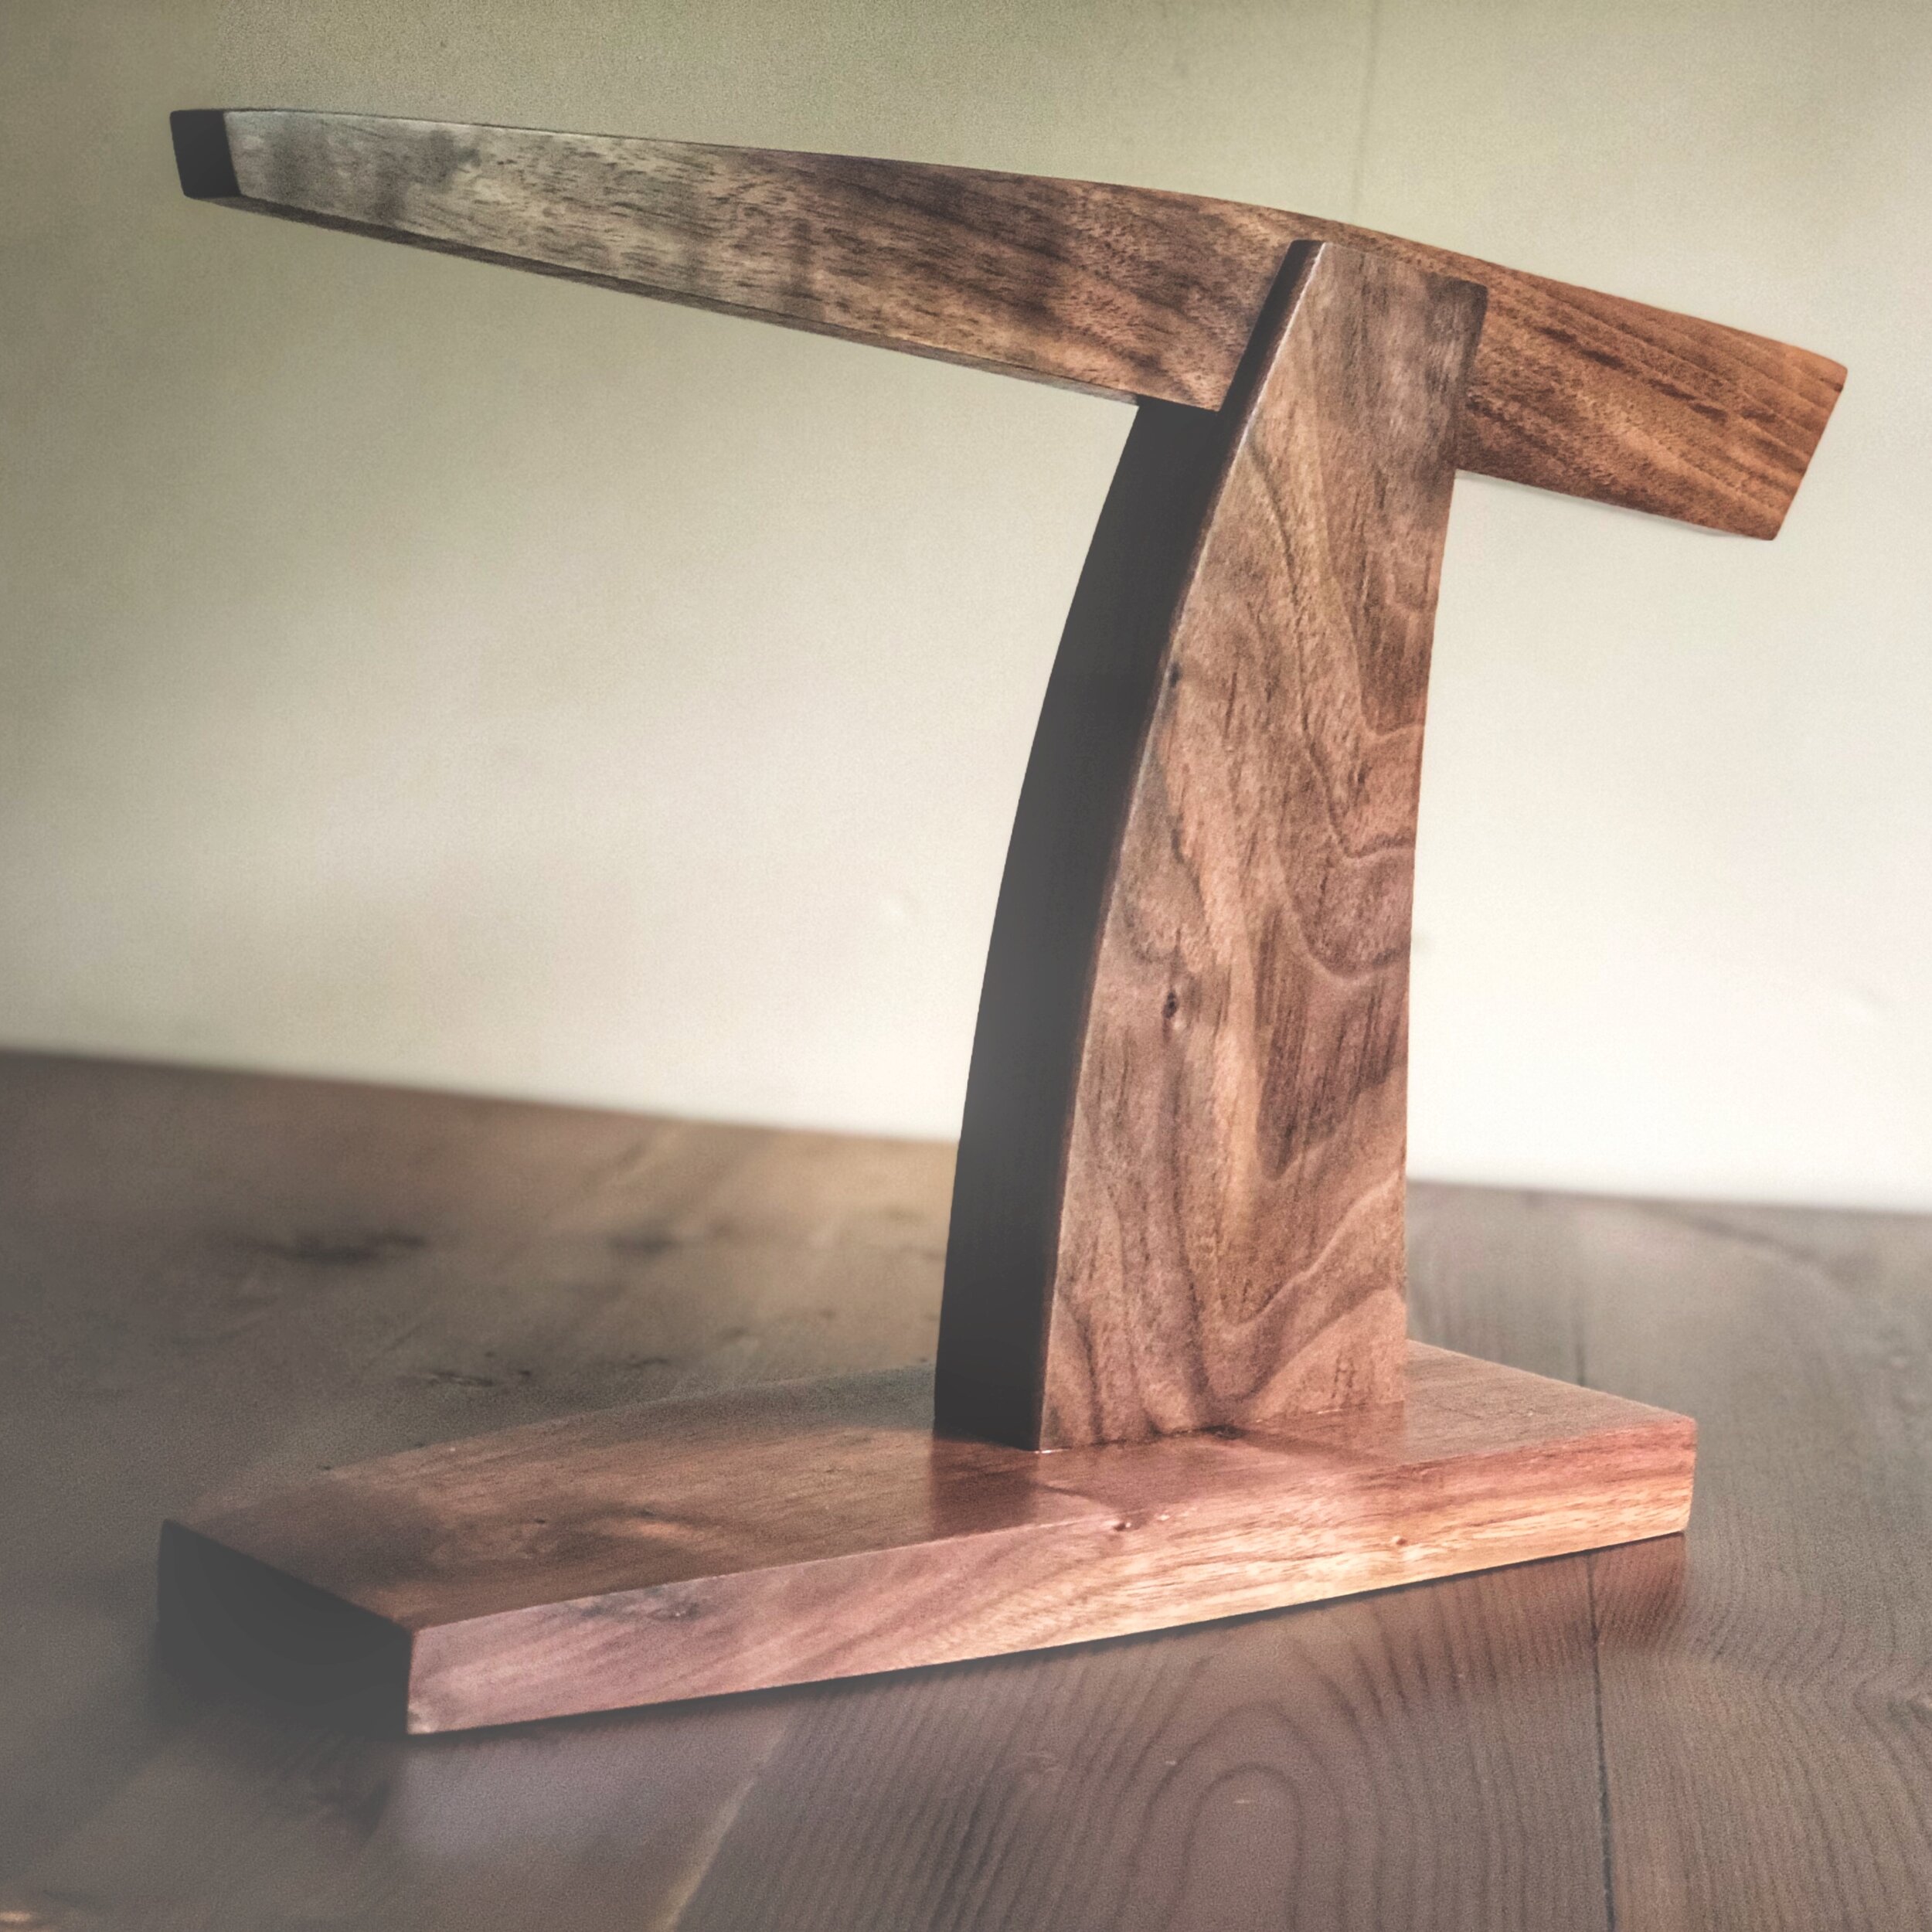
As much as complex and complicated seemed like the direction I wanted to go. Simple and clean was the destination. To me there was more with having less going on.

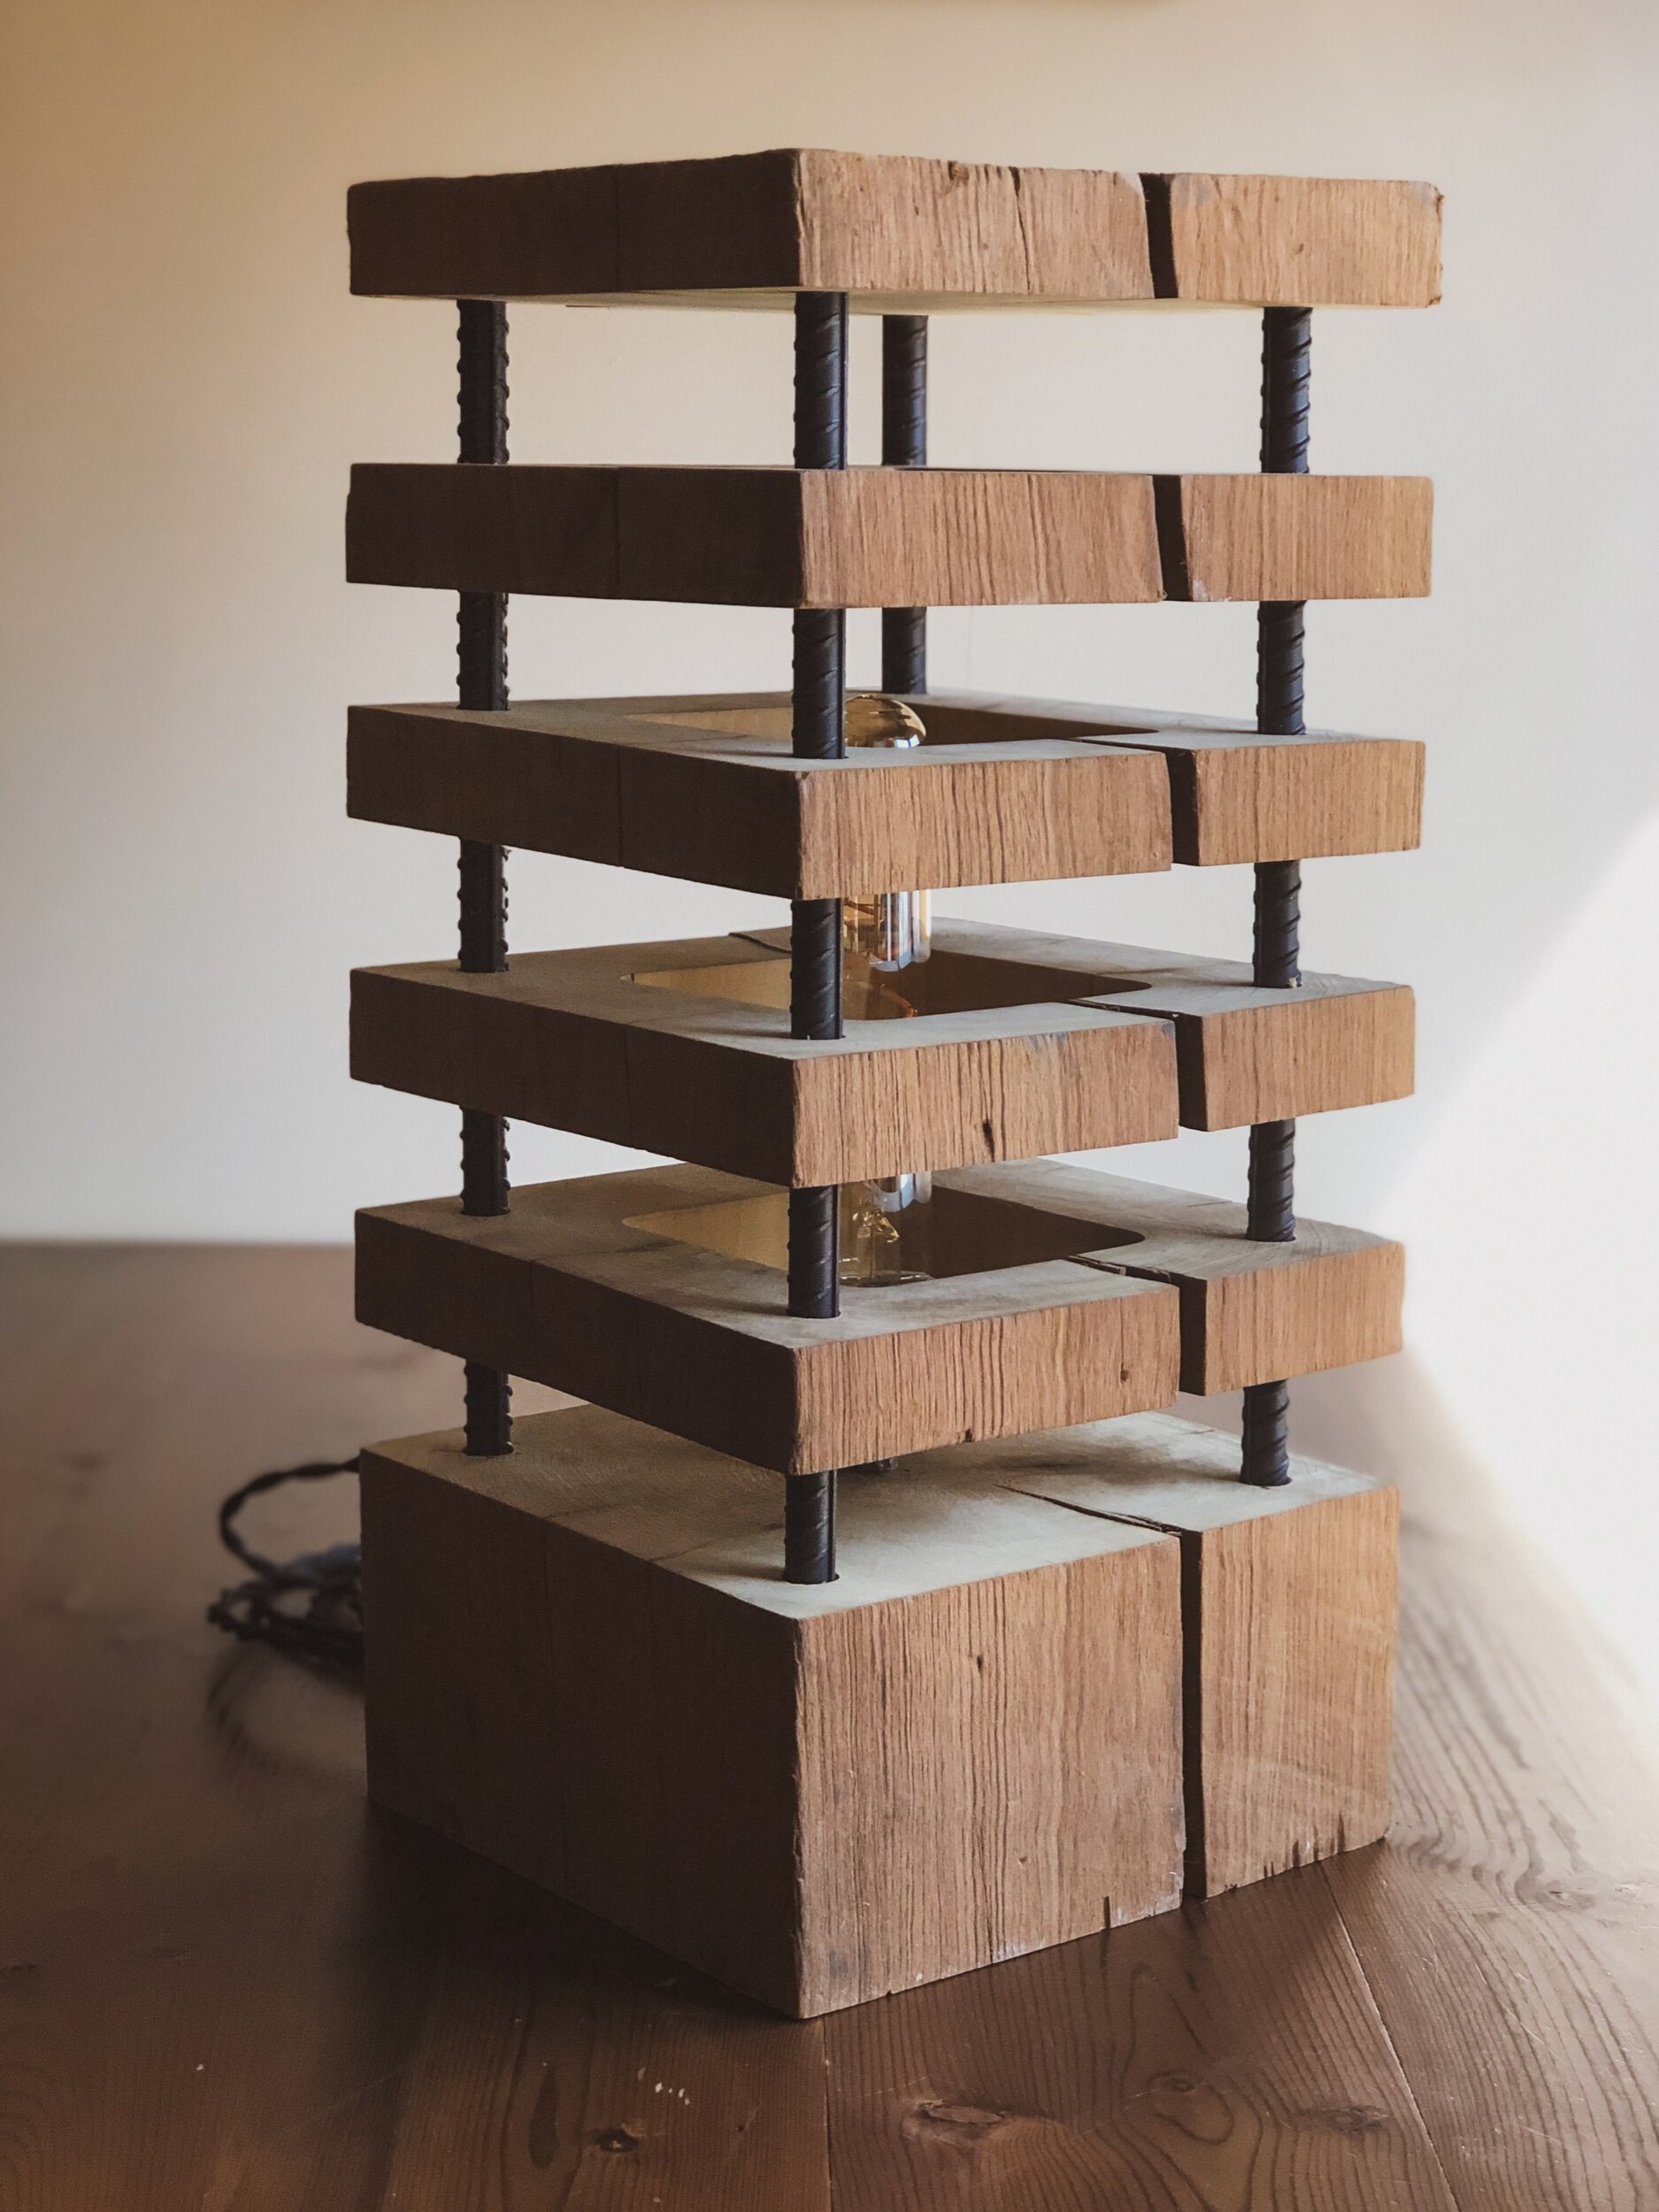
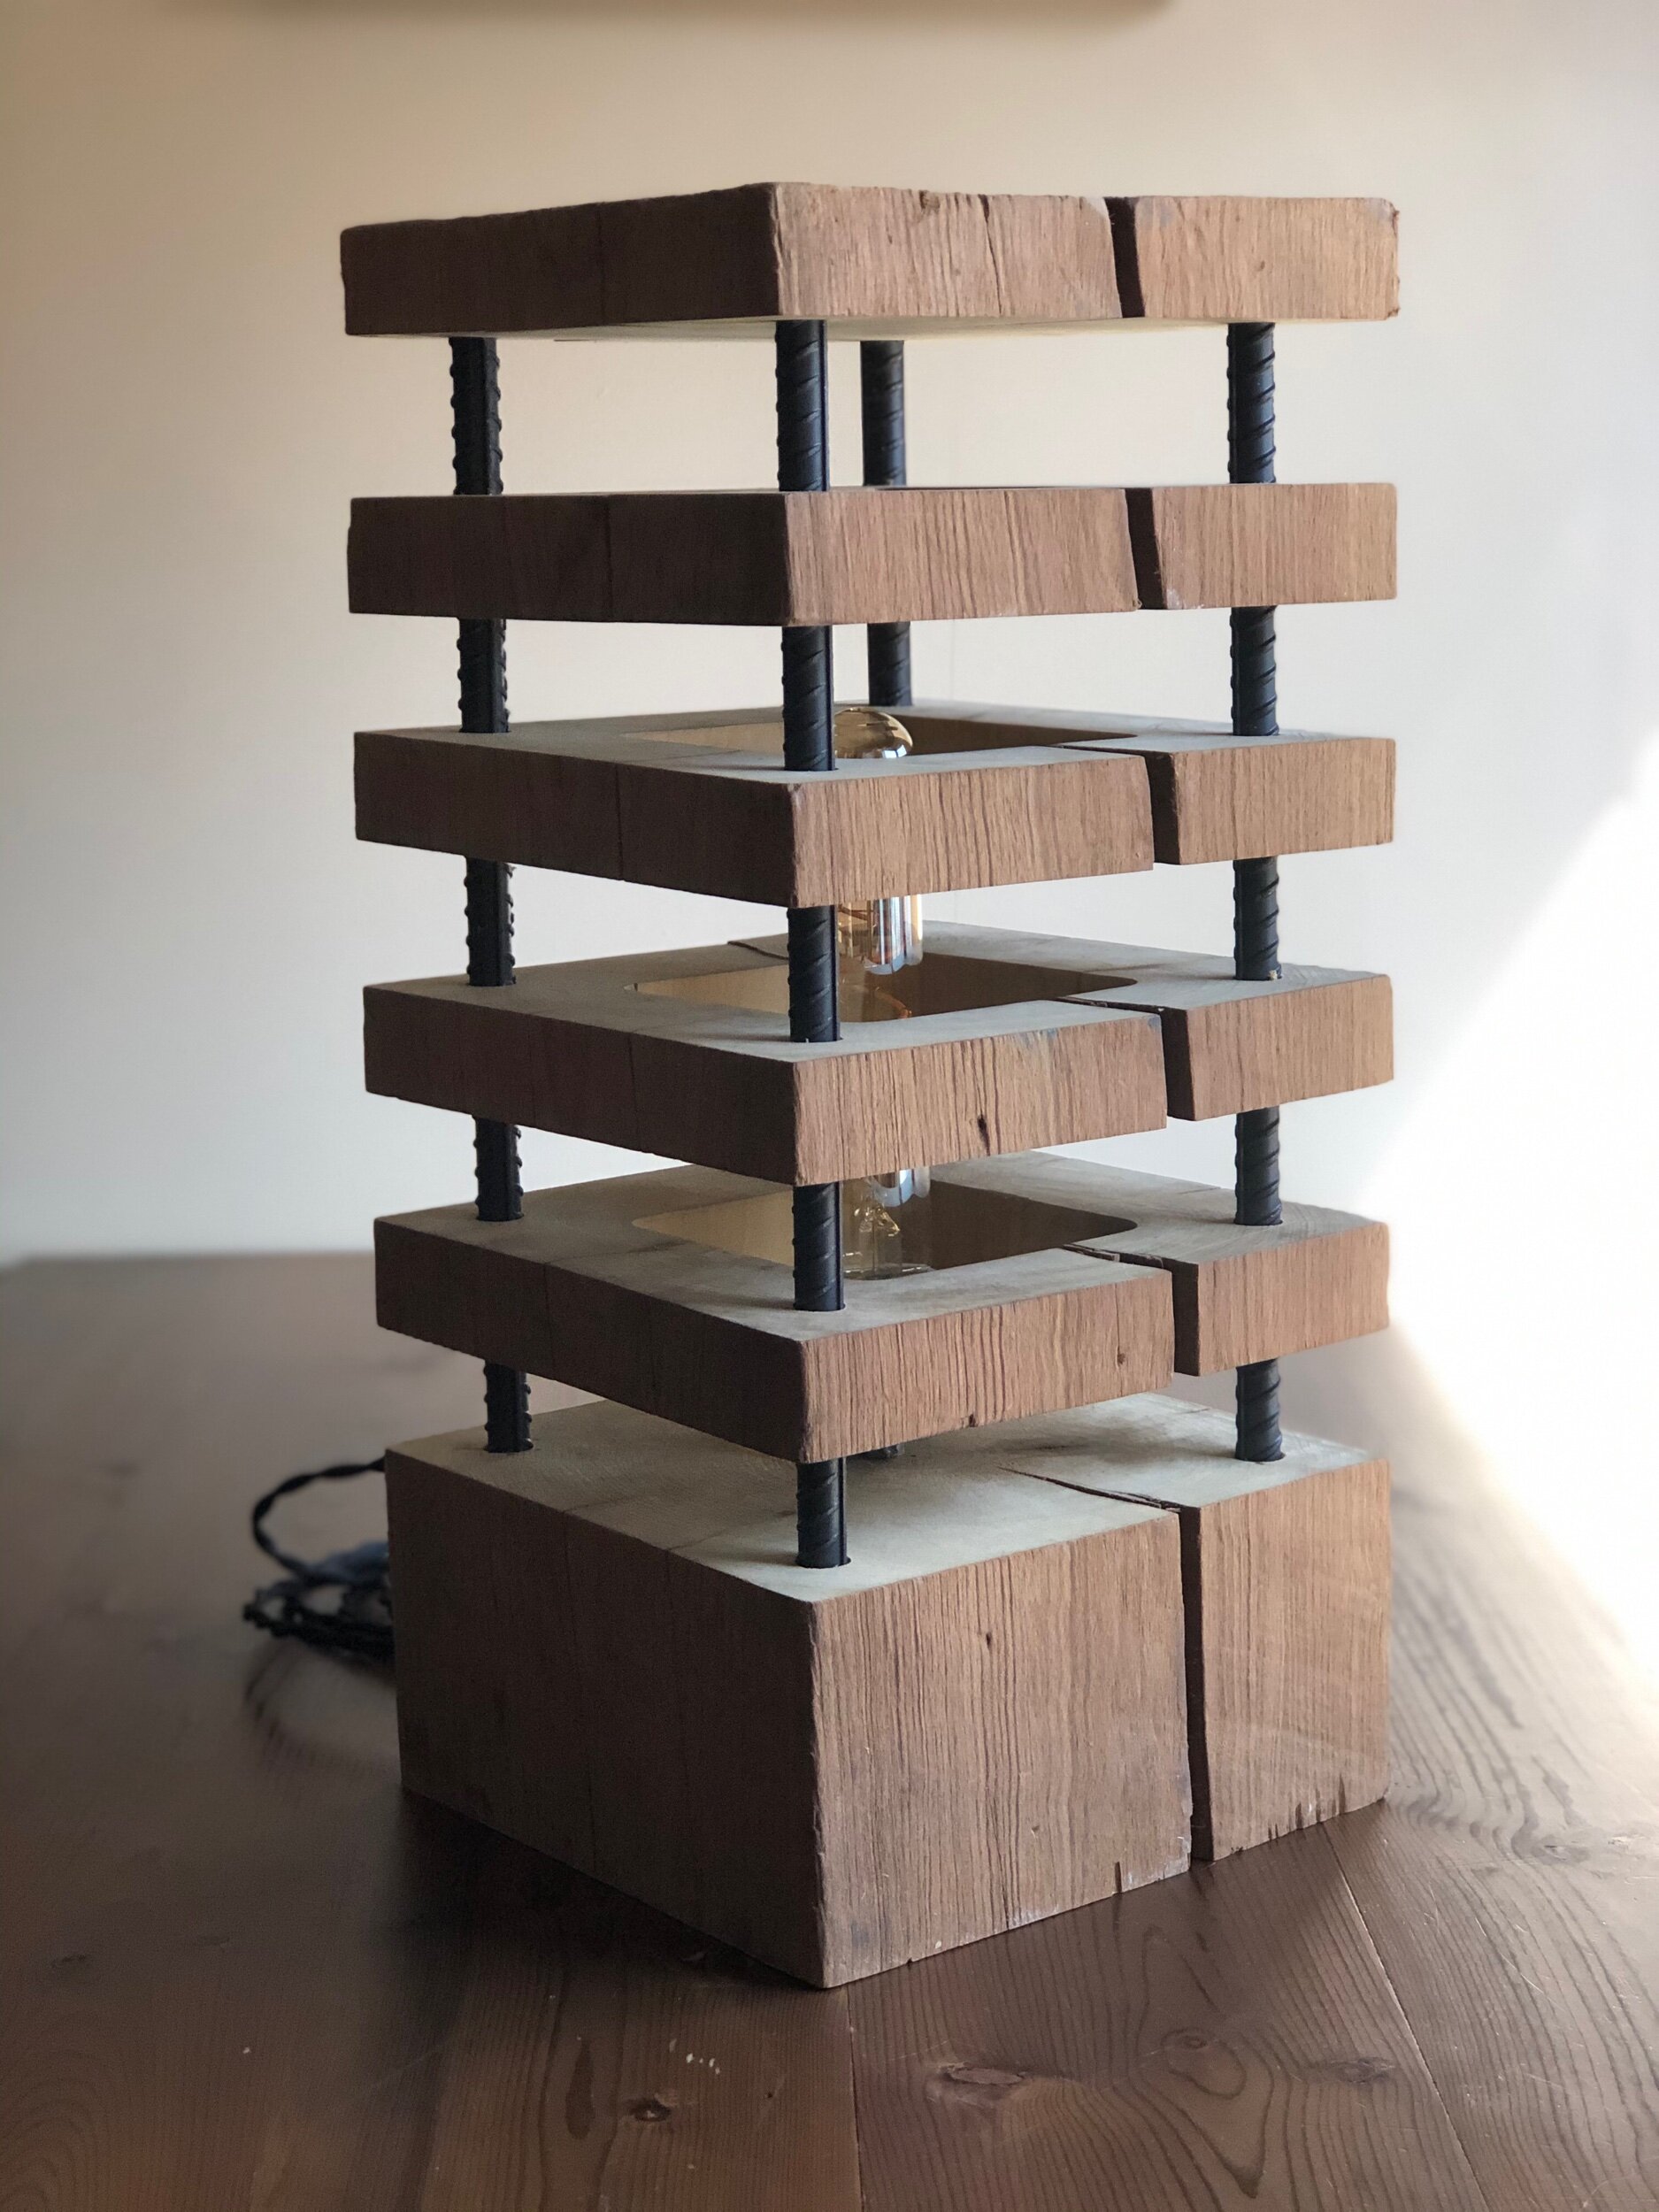
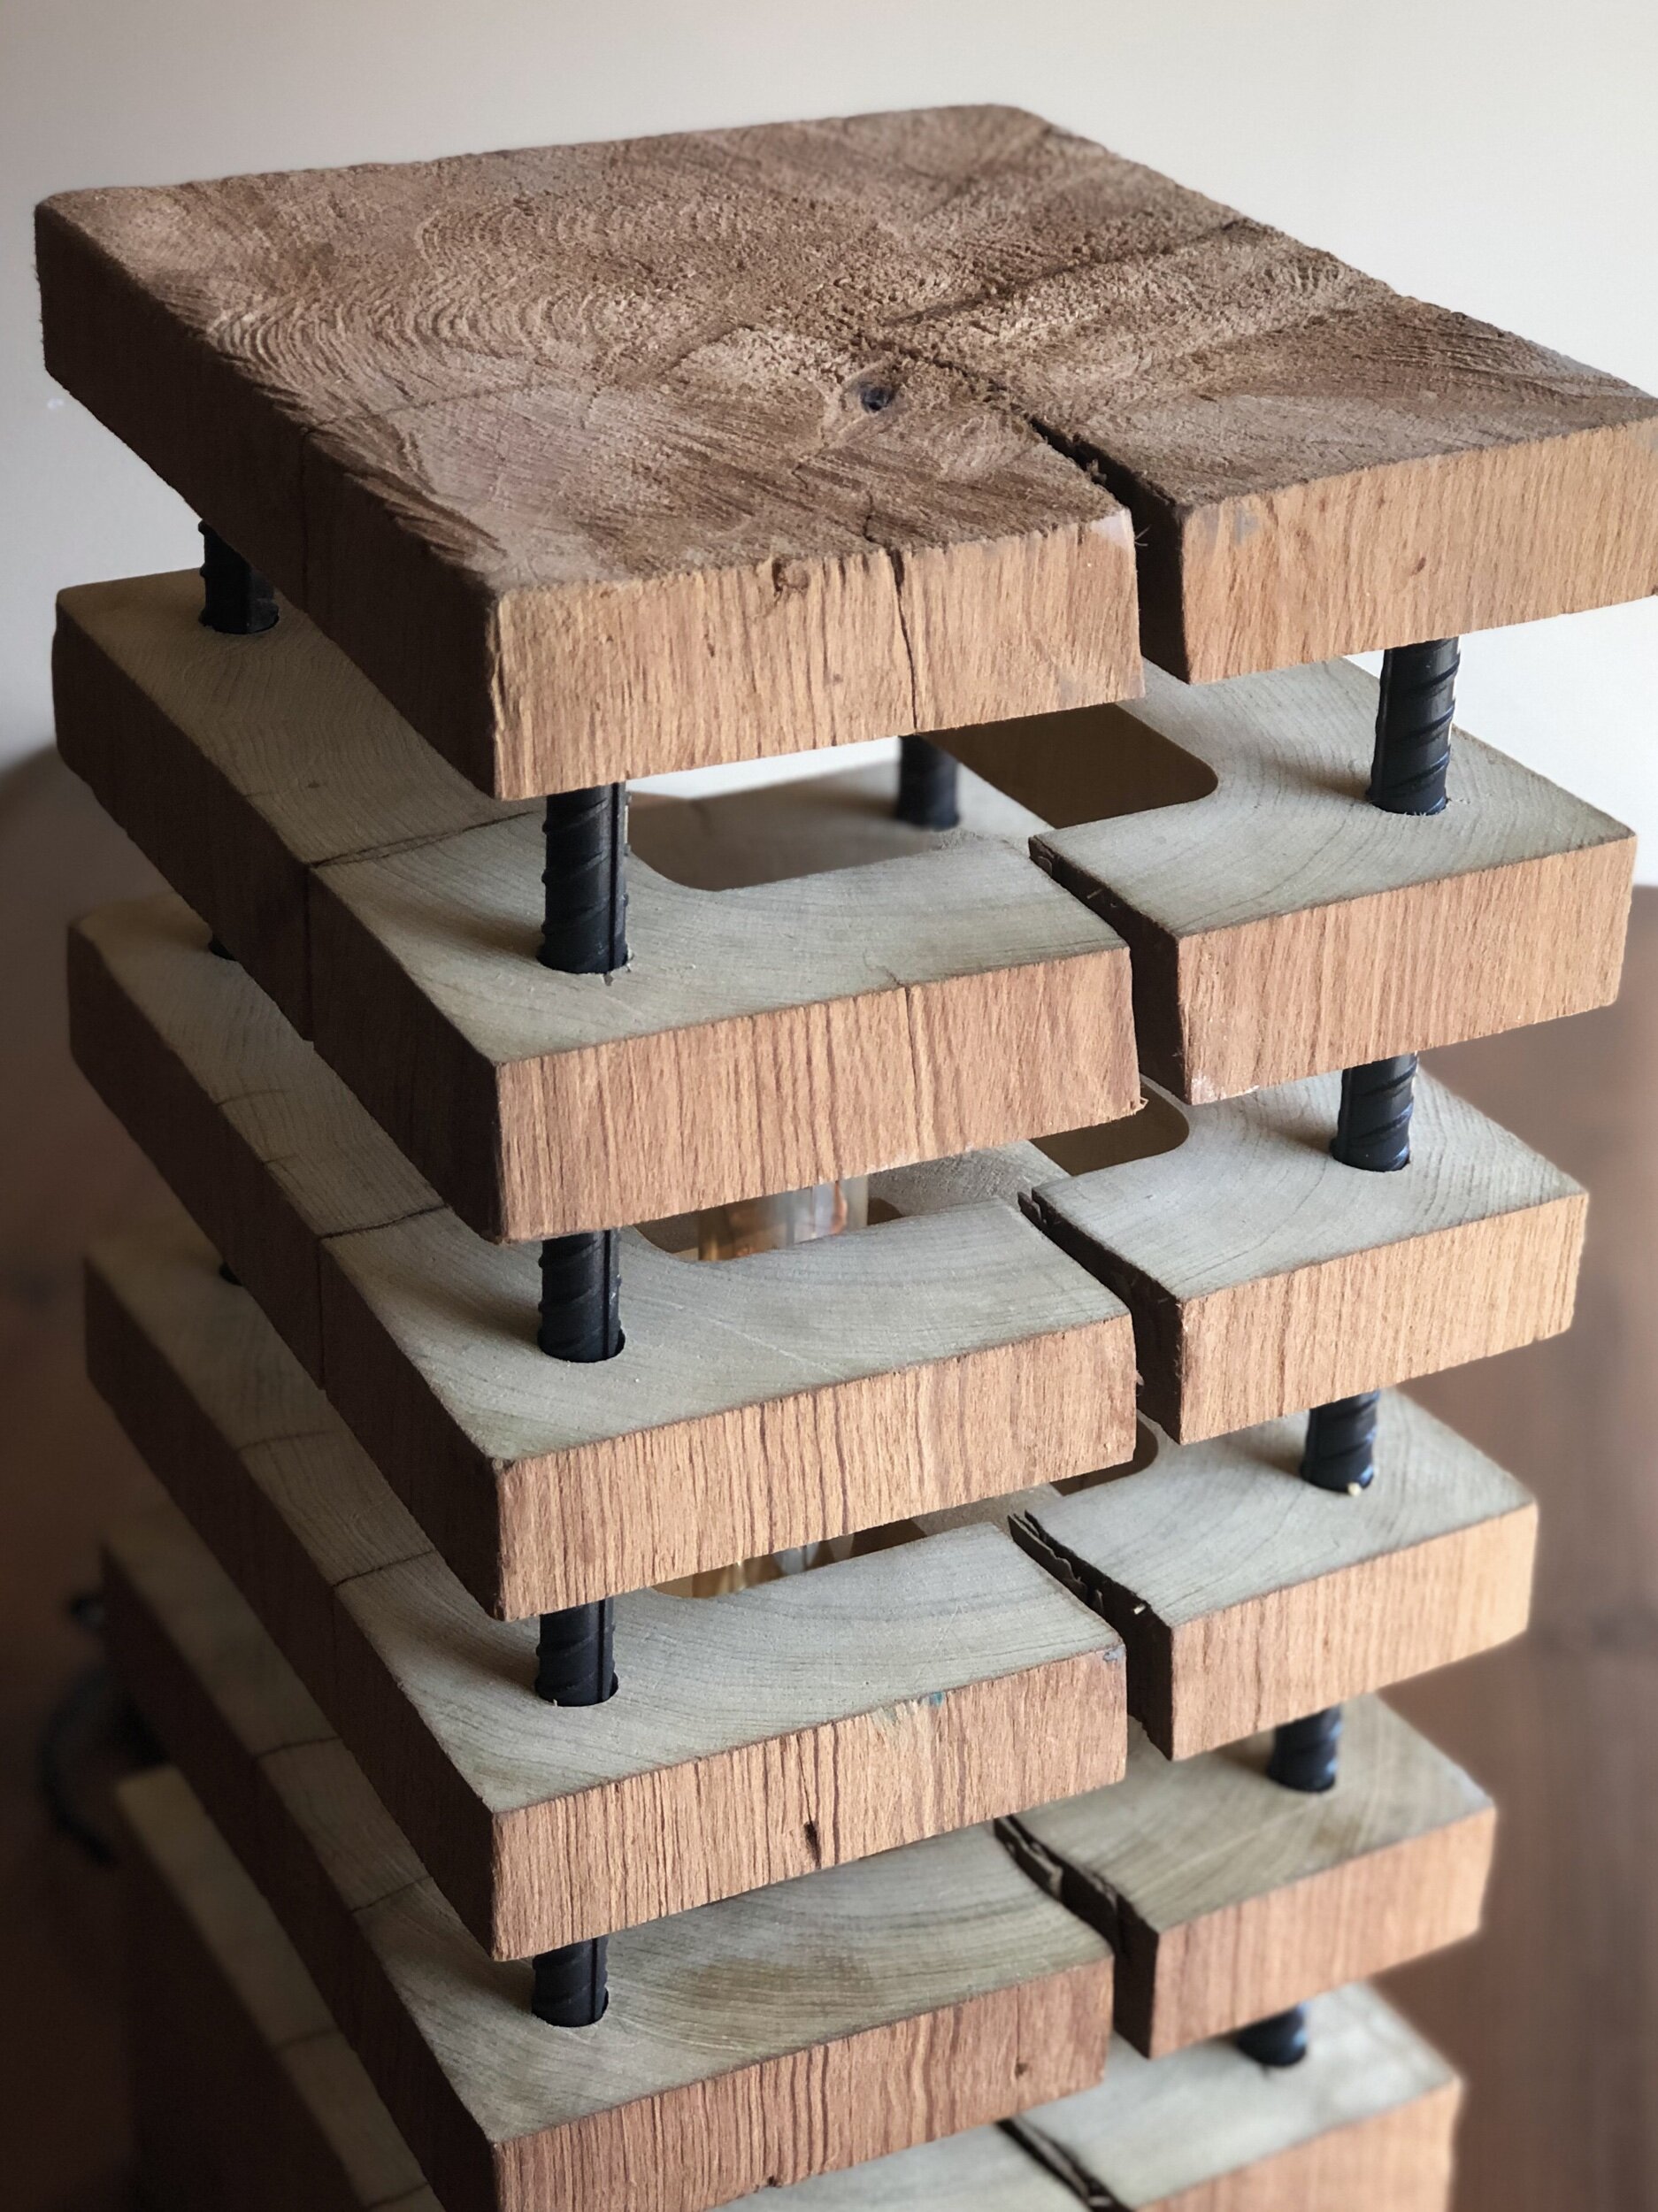
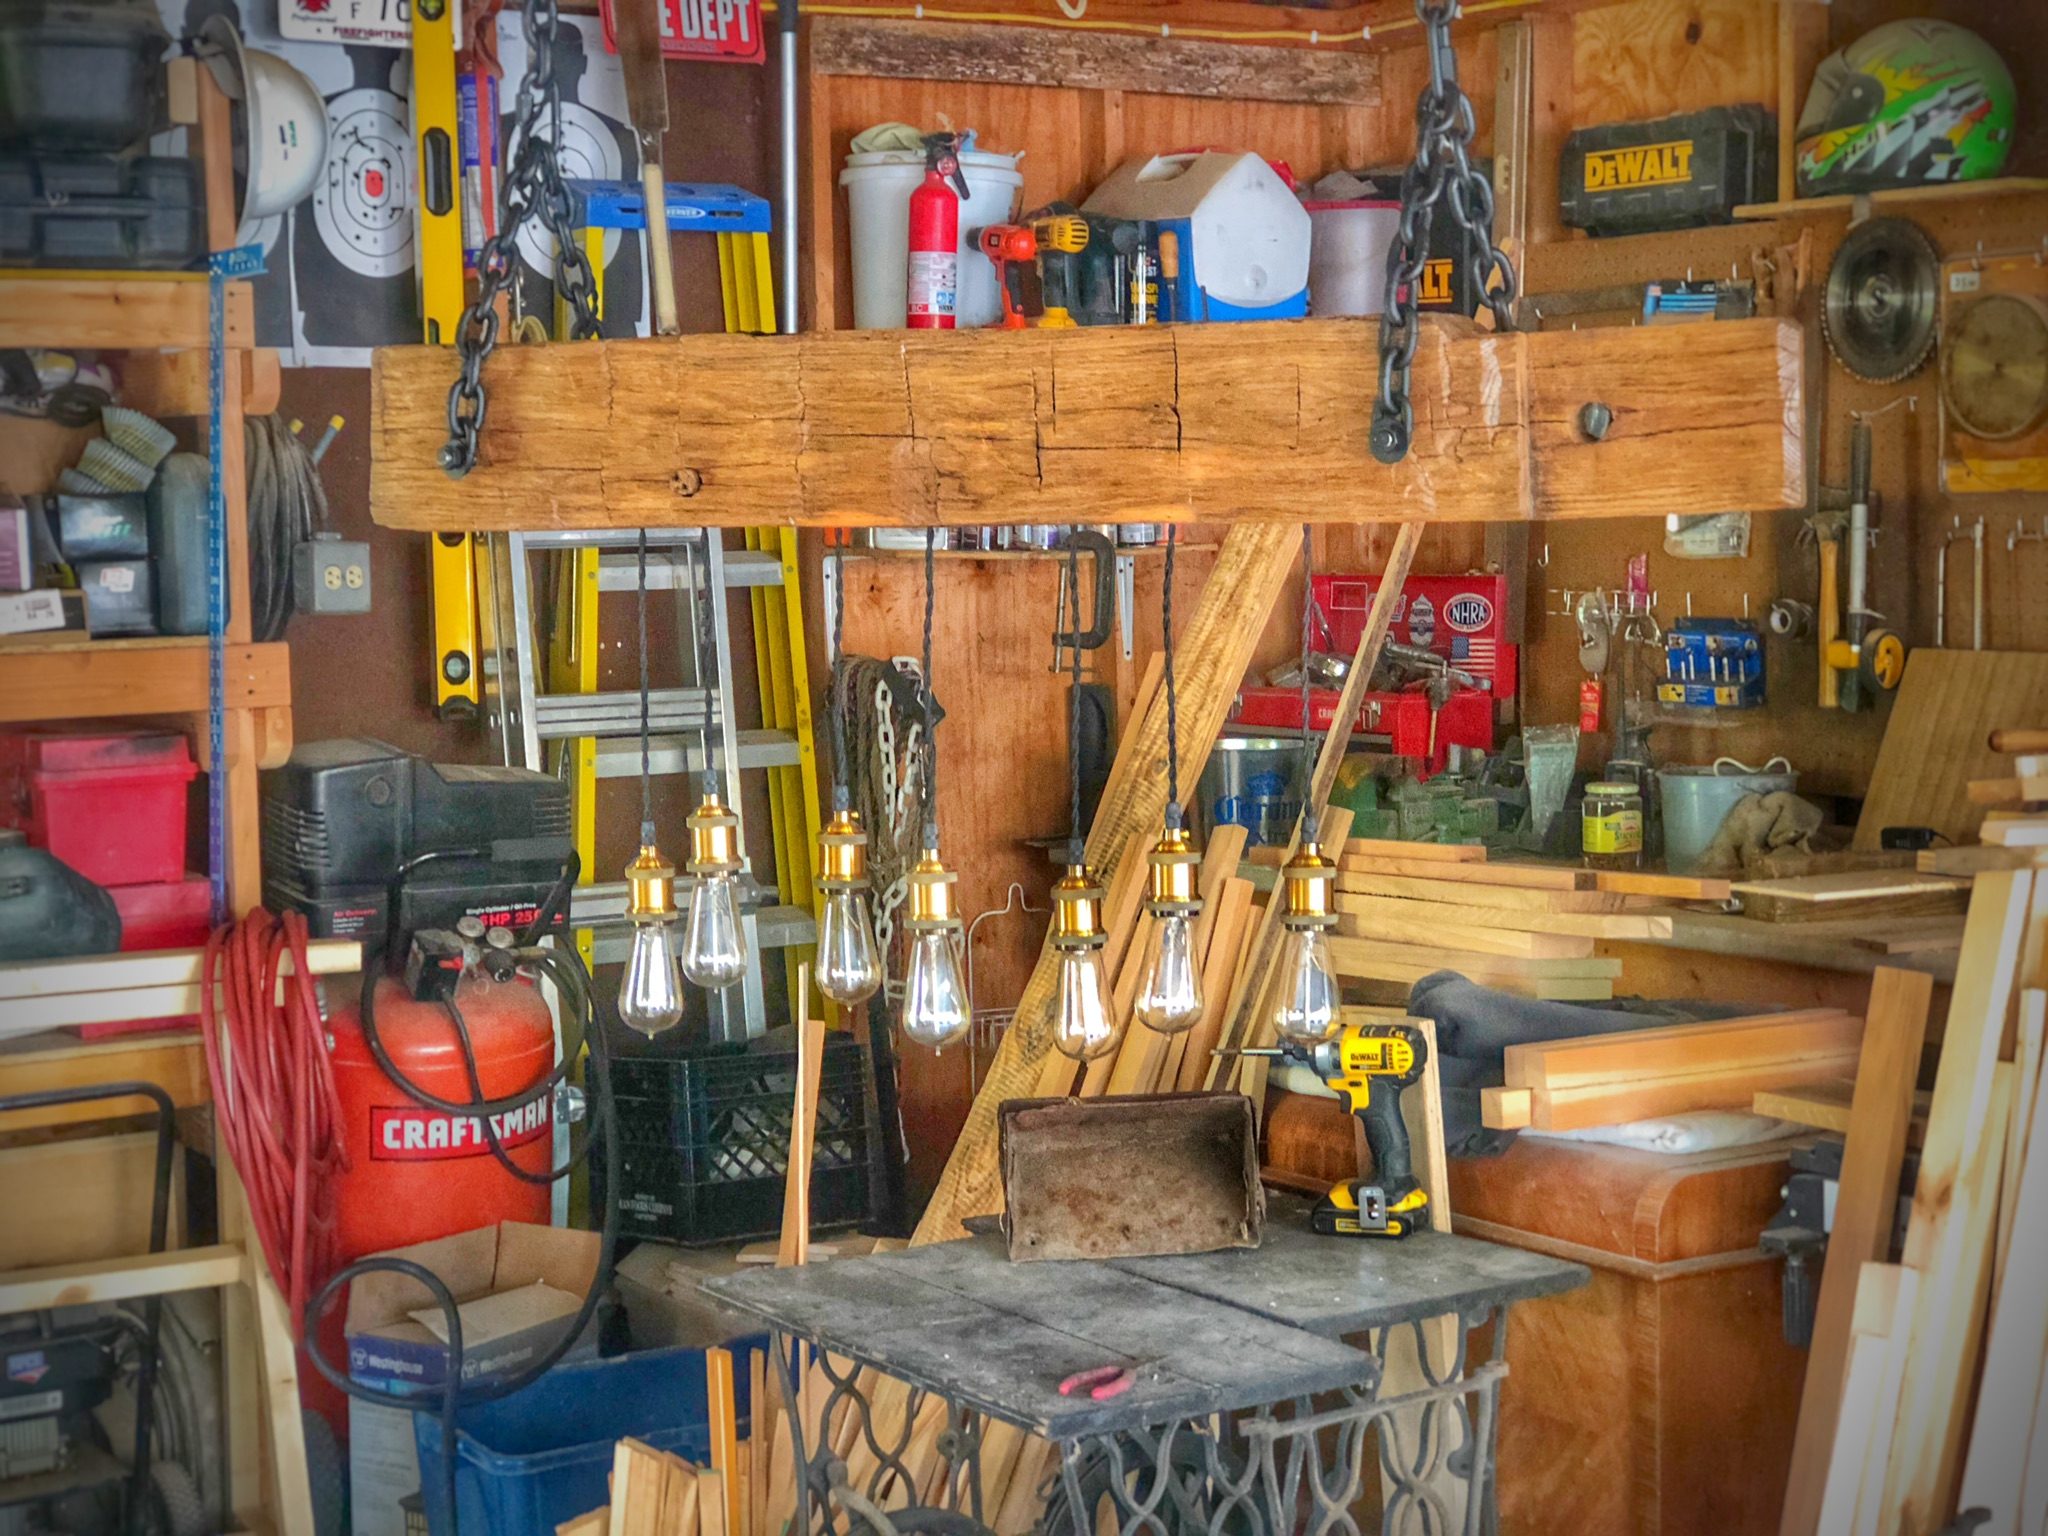
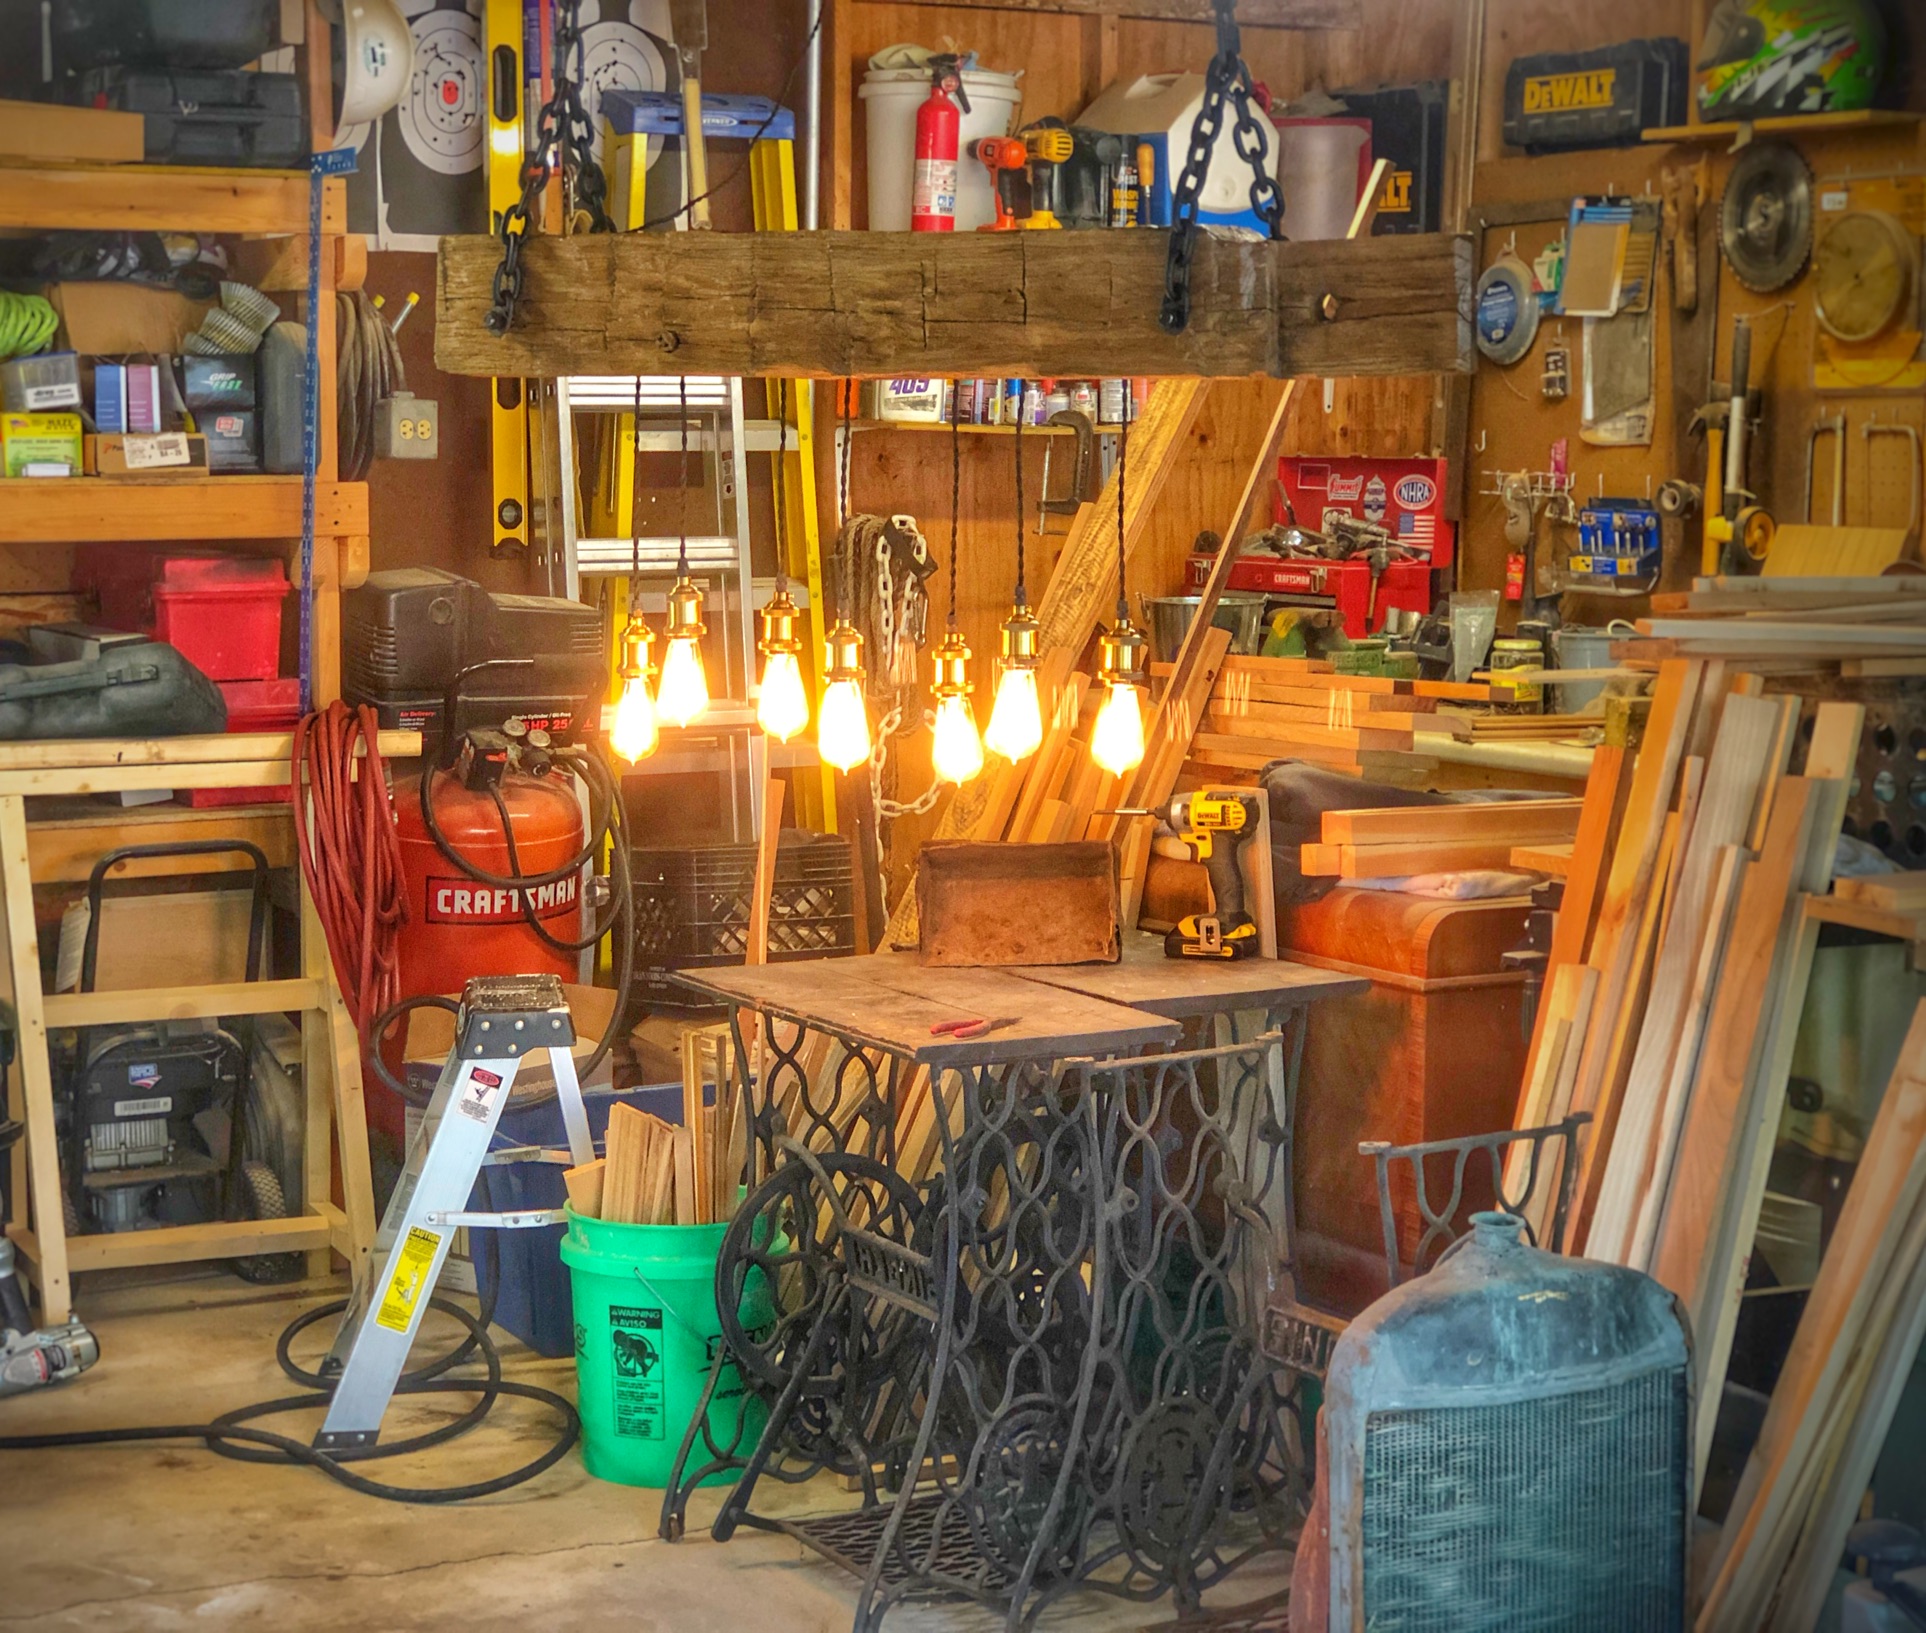
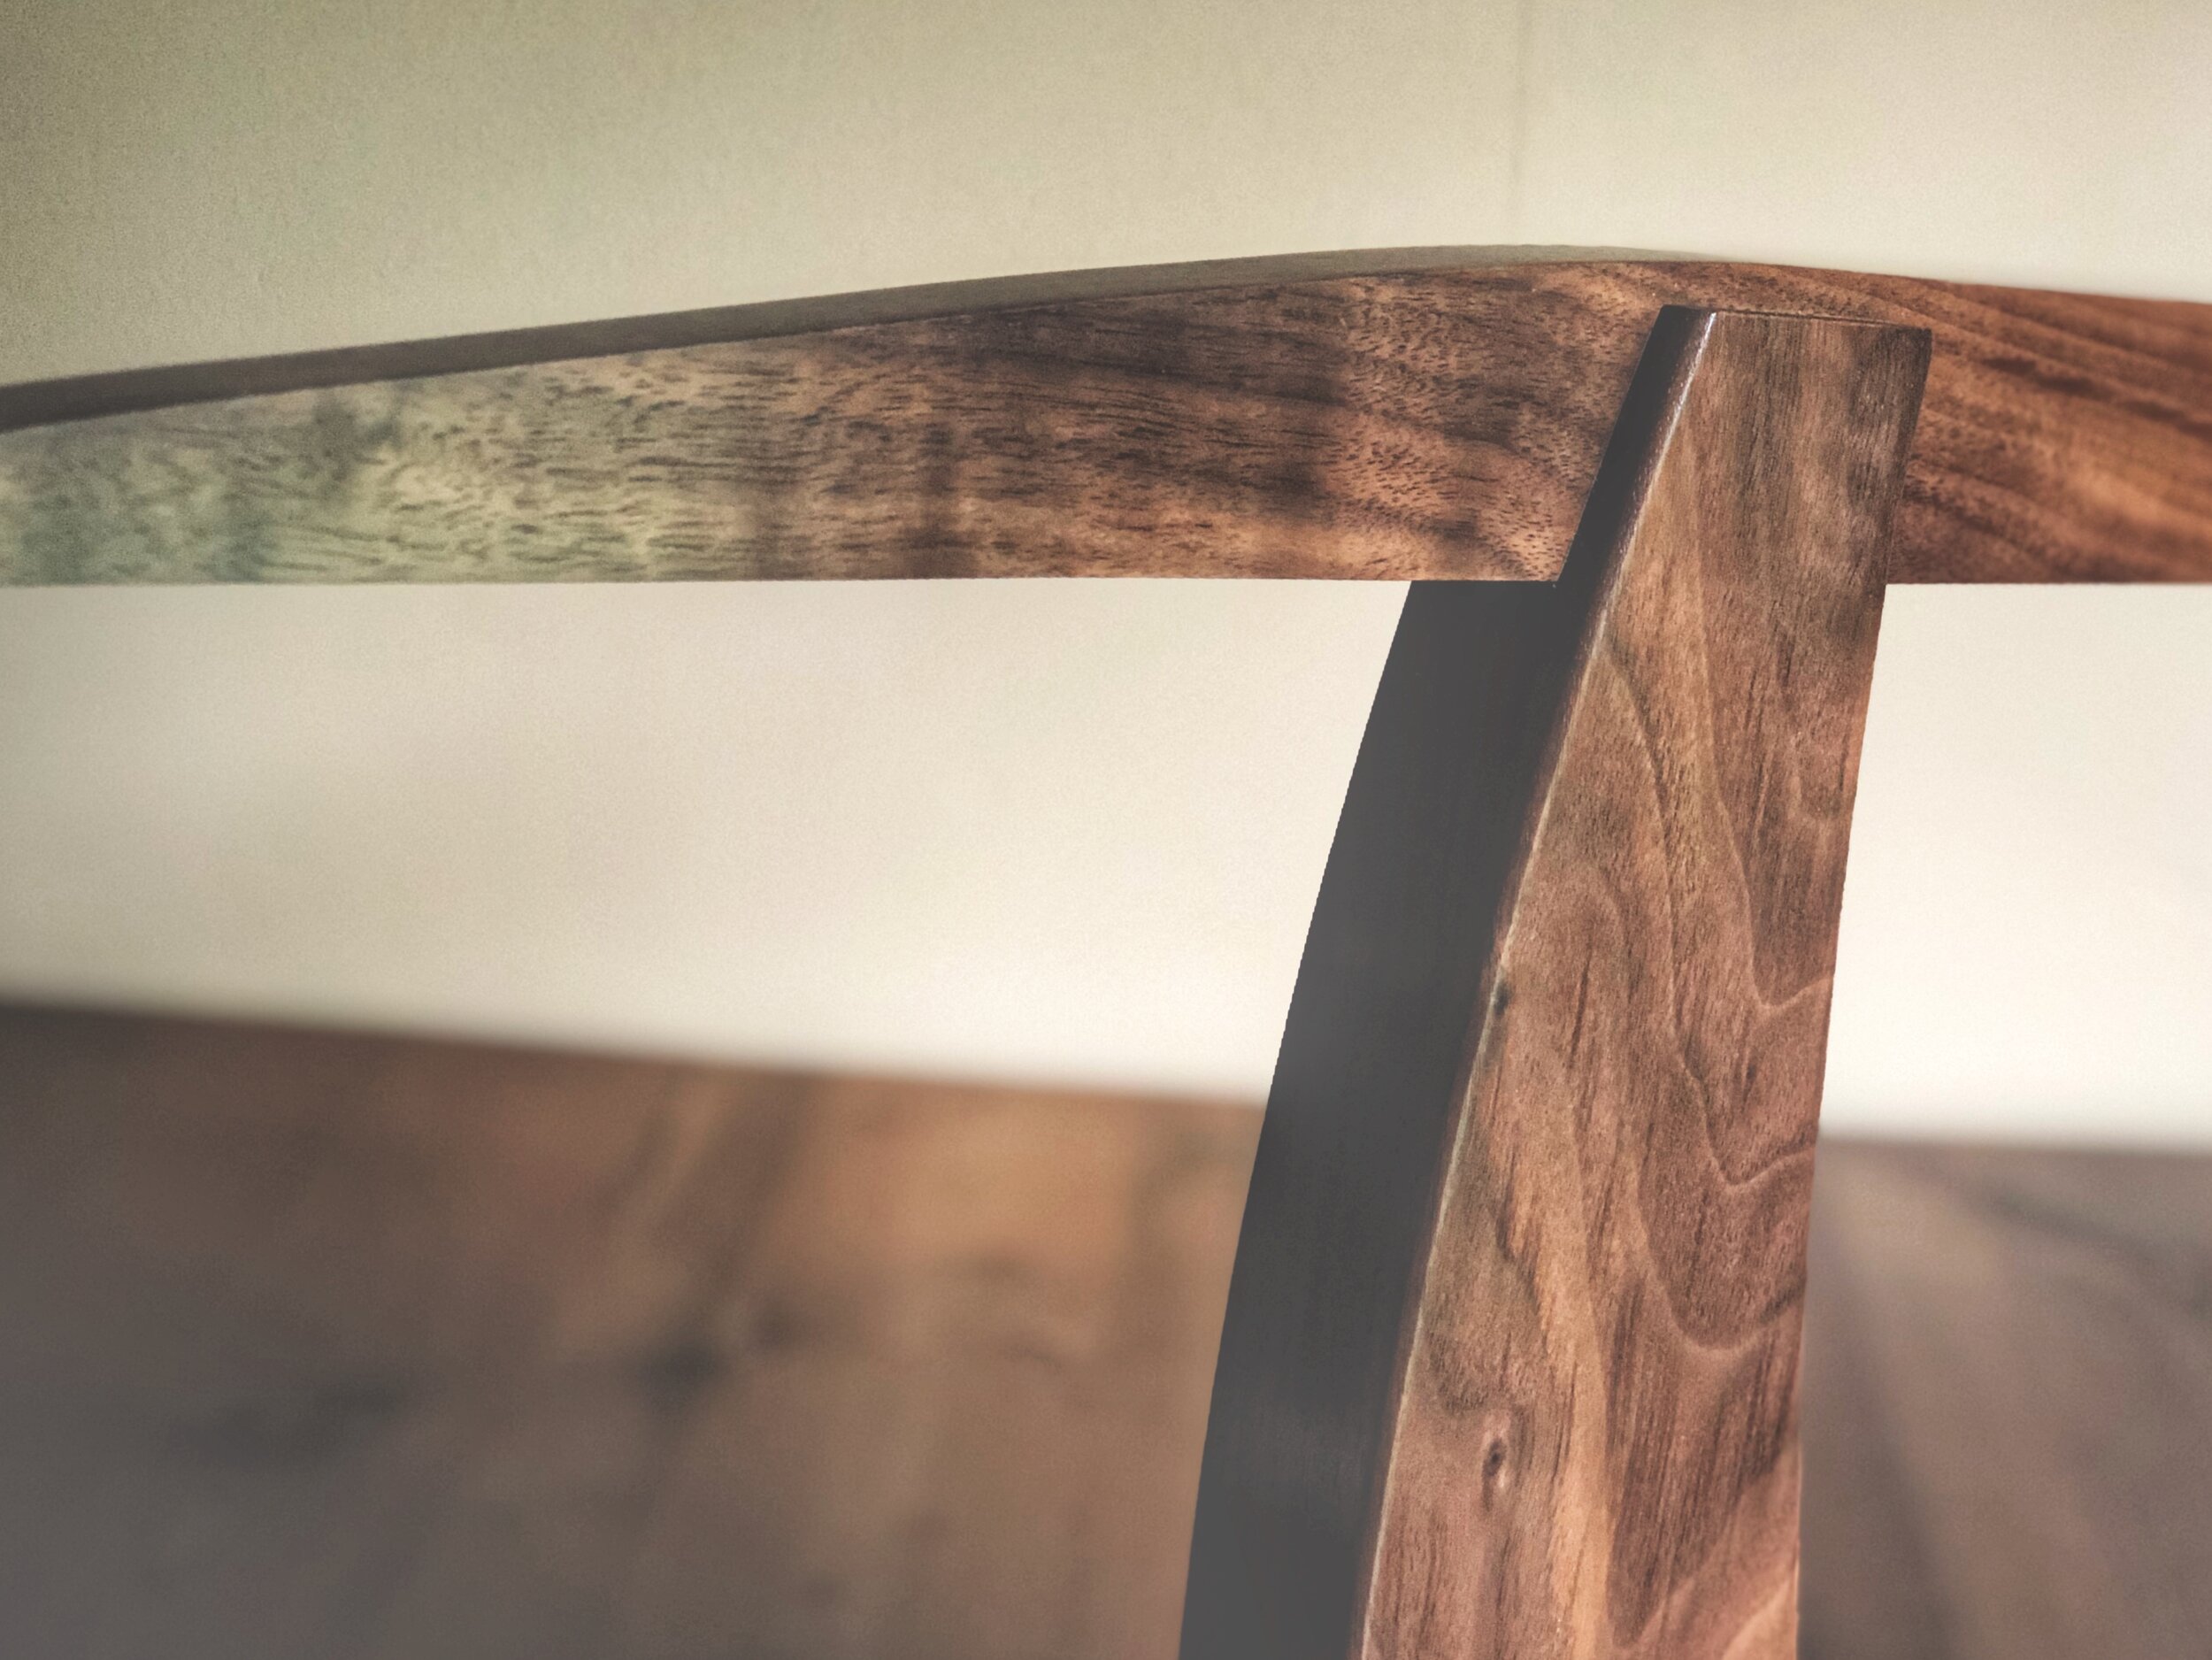
After seeing a lamp online now with another working idea, I went to the local hardwood store and picked out some pieces of walnut. I am no woodworking purist and I believe there is room for both technology and hand tools in the shop. Using Fusion 360 to design the vertical piece I was able to visualize and change my design without making firewood. After coming up with a design that felt right, I took the design to my shop helper C+C Creative Factory (my CNC machine for those that don’t get the reference).

What came out was beautiful. A little bit of hand tool work, and my vision was coming to live. The base and the “arm” both were designed with some scraps in the wood till their shape was refined then I could transfer that image to the walnut.

Finally the finished product was coming together. I have been experimenting with finishing and I ended up sanding to 800 grit using tung oil, shellac, and a wax finish. The result was a finish that begged to be touched.

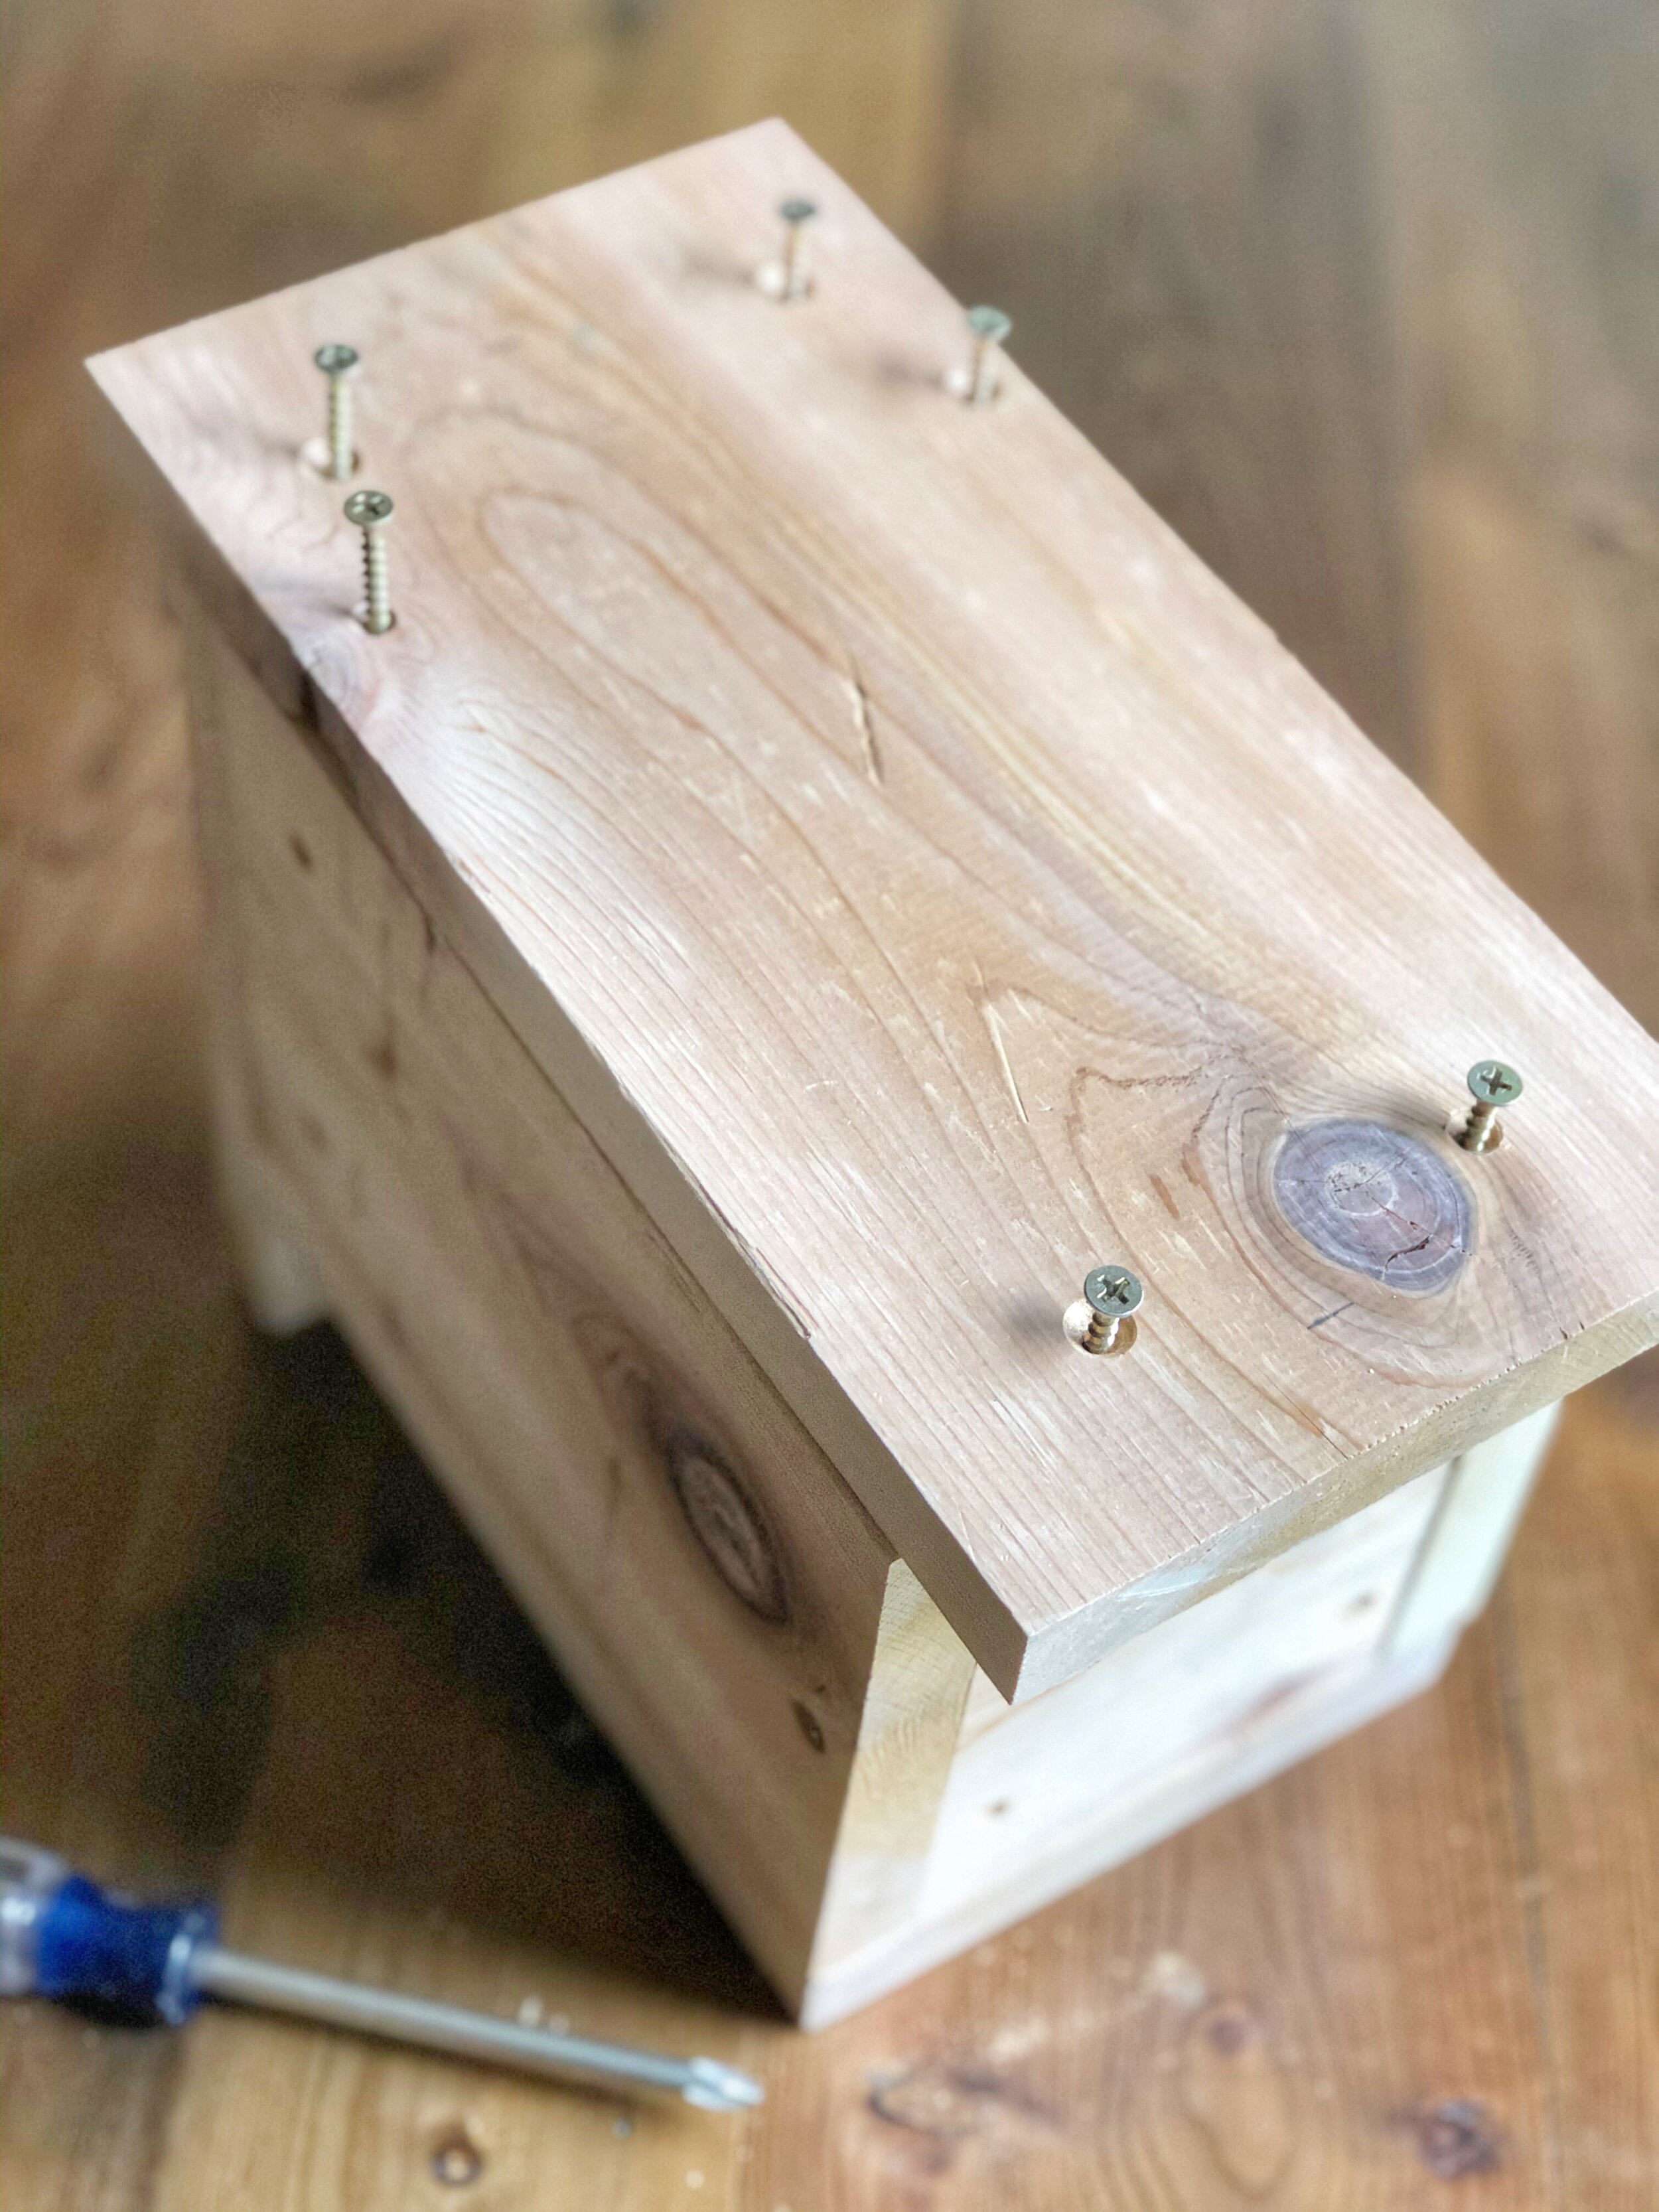
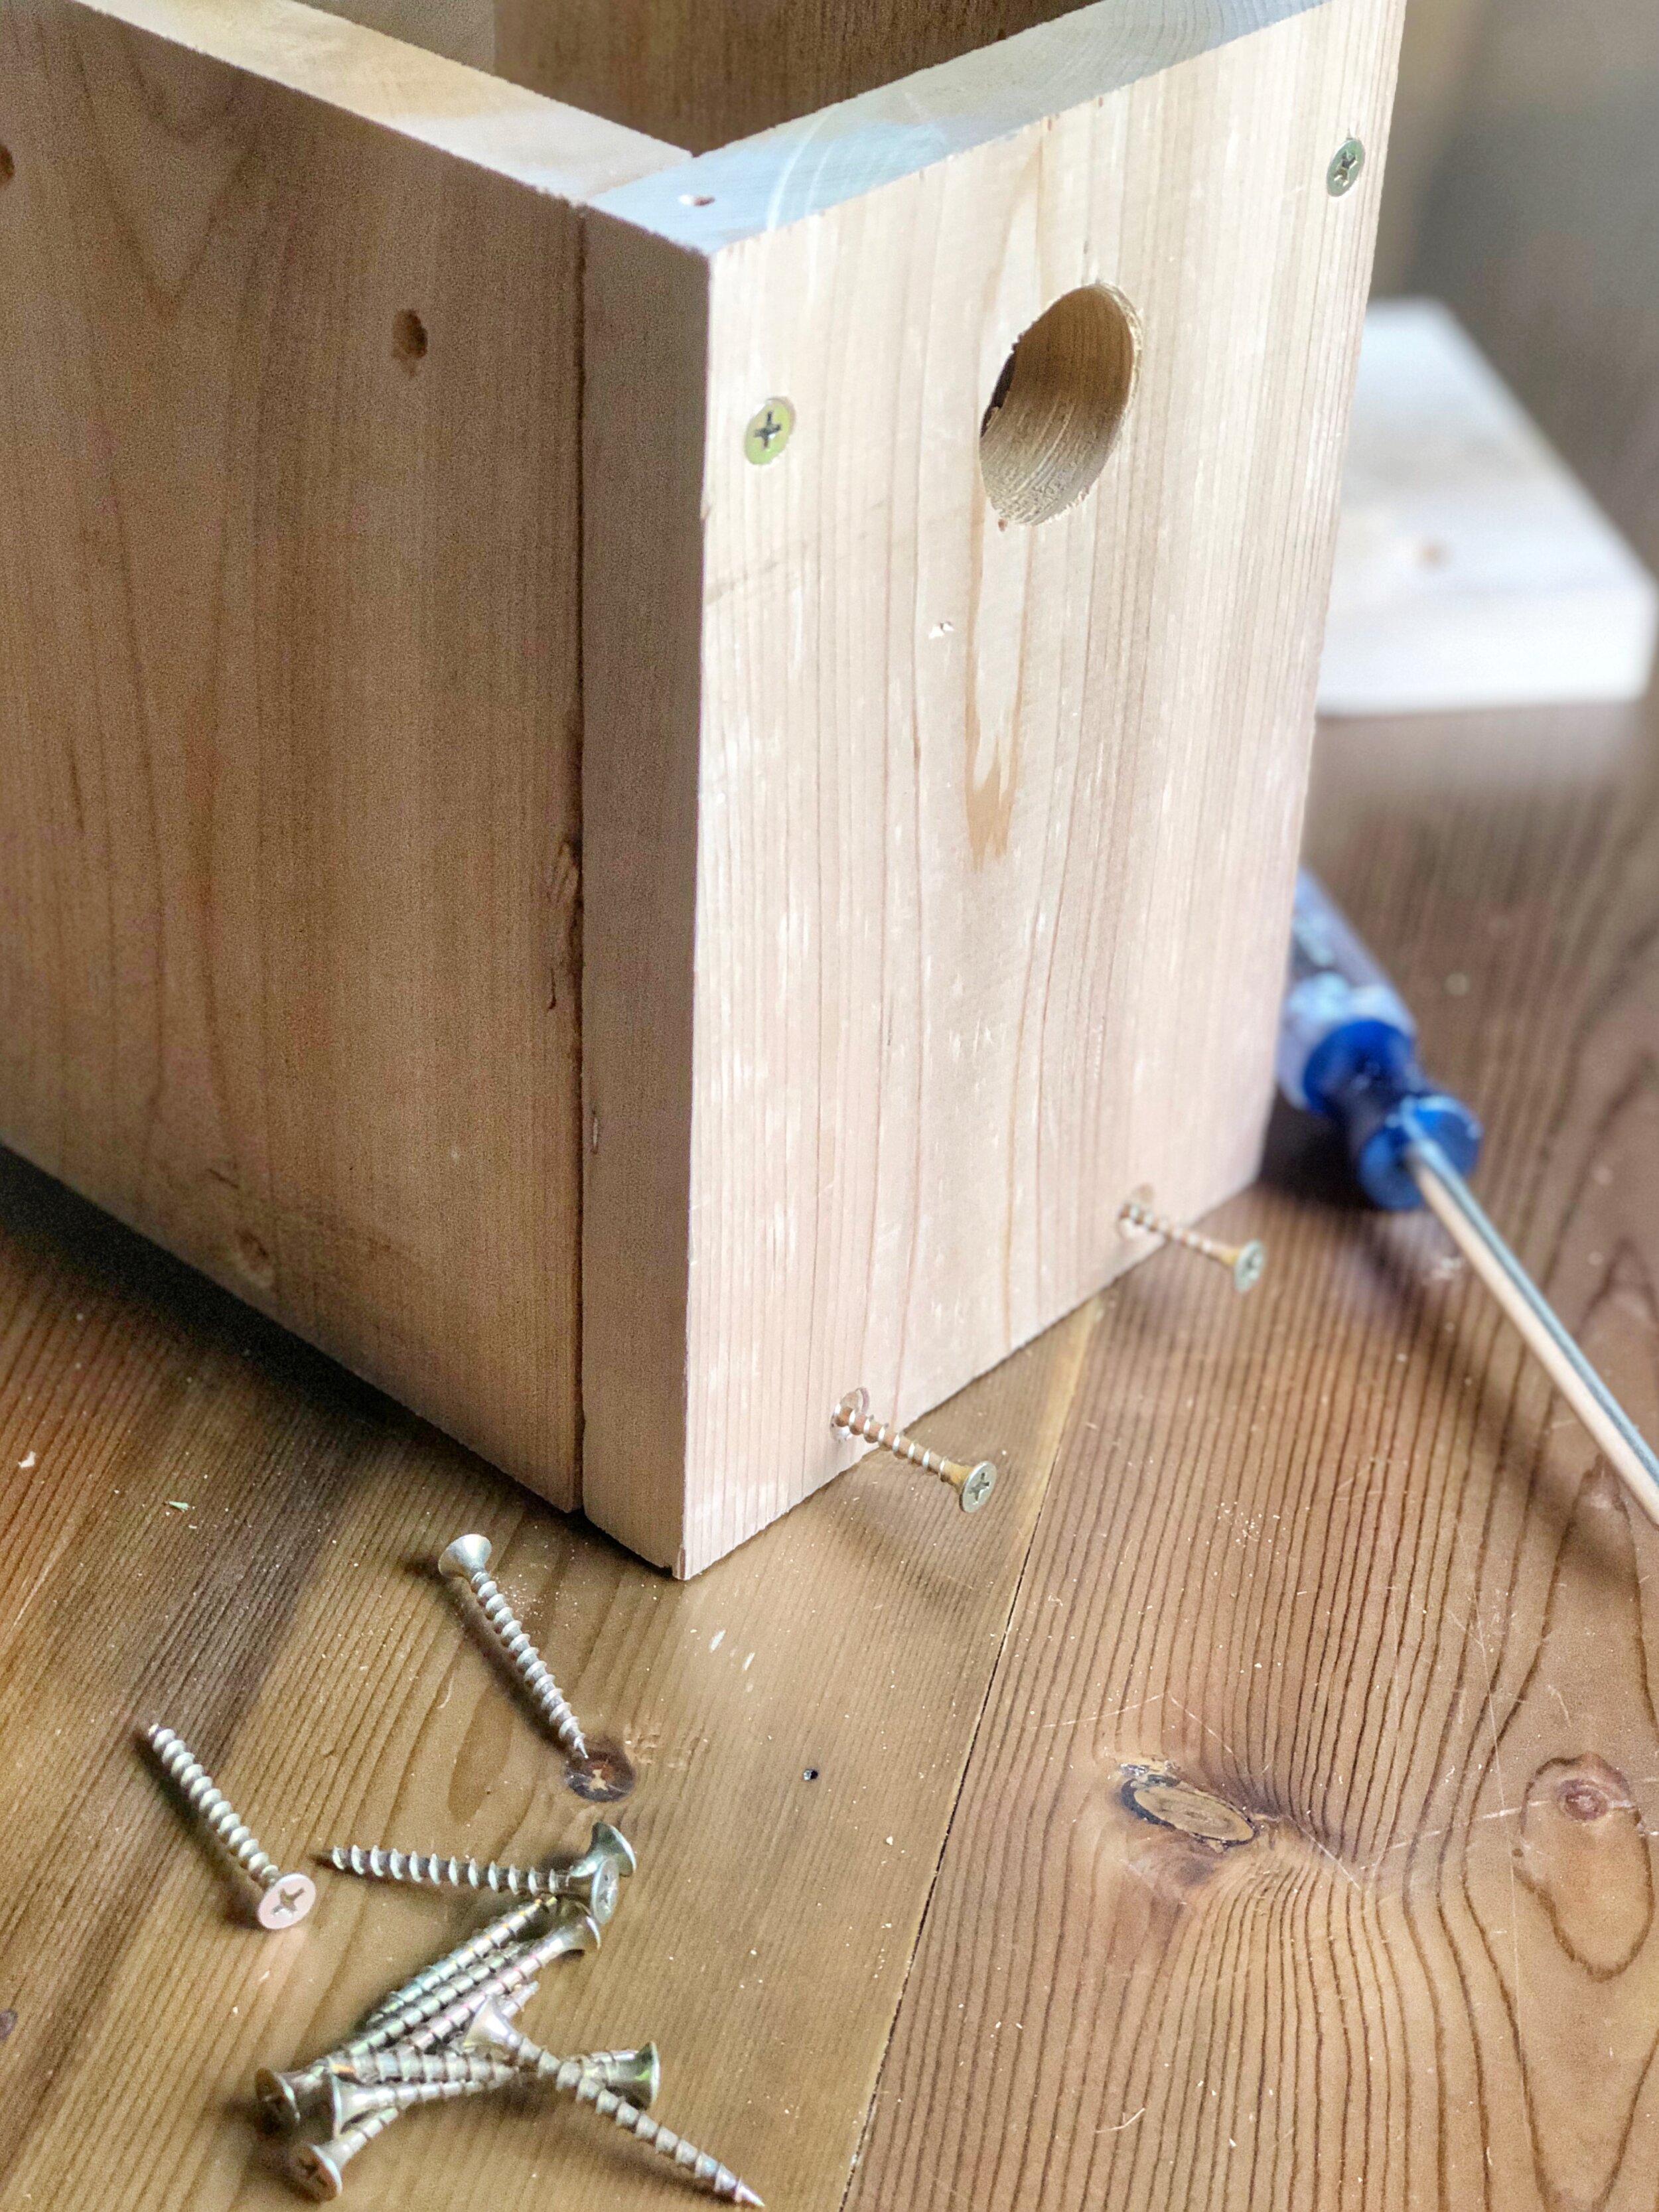
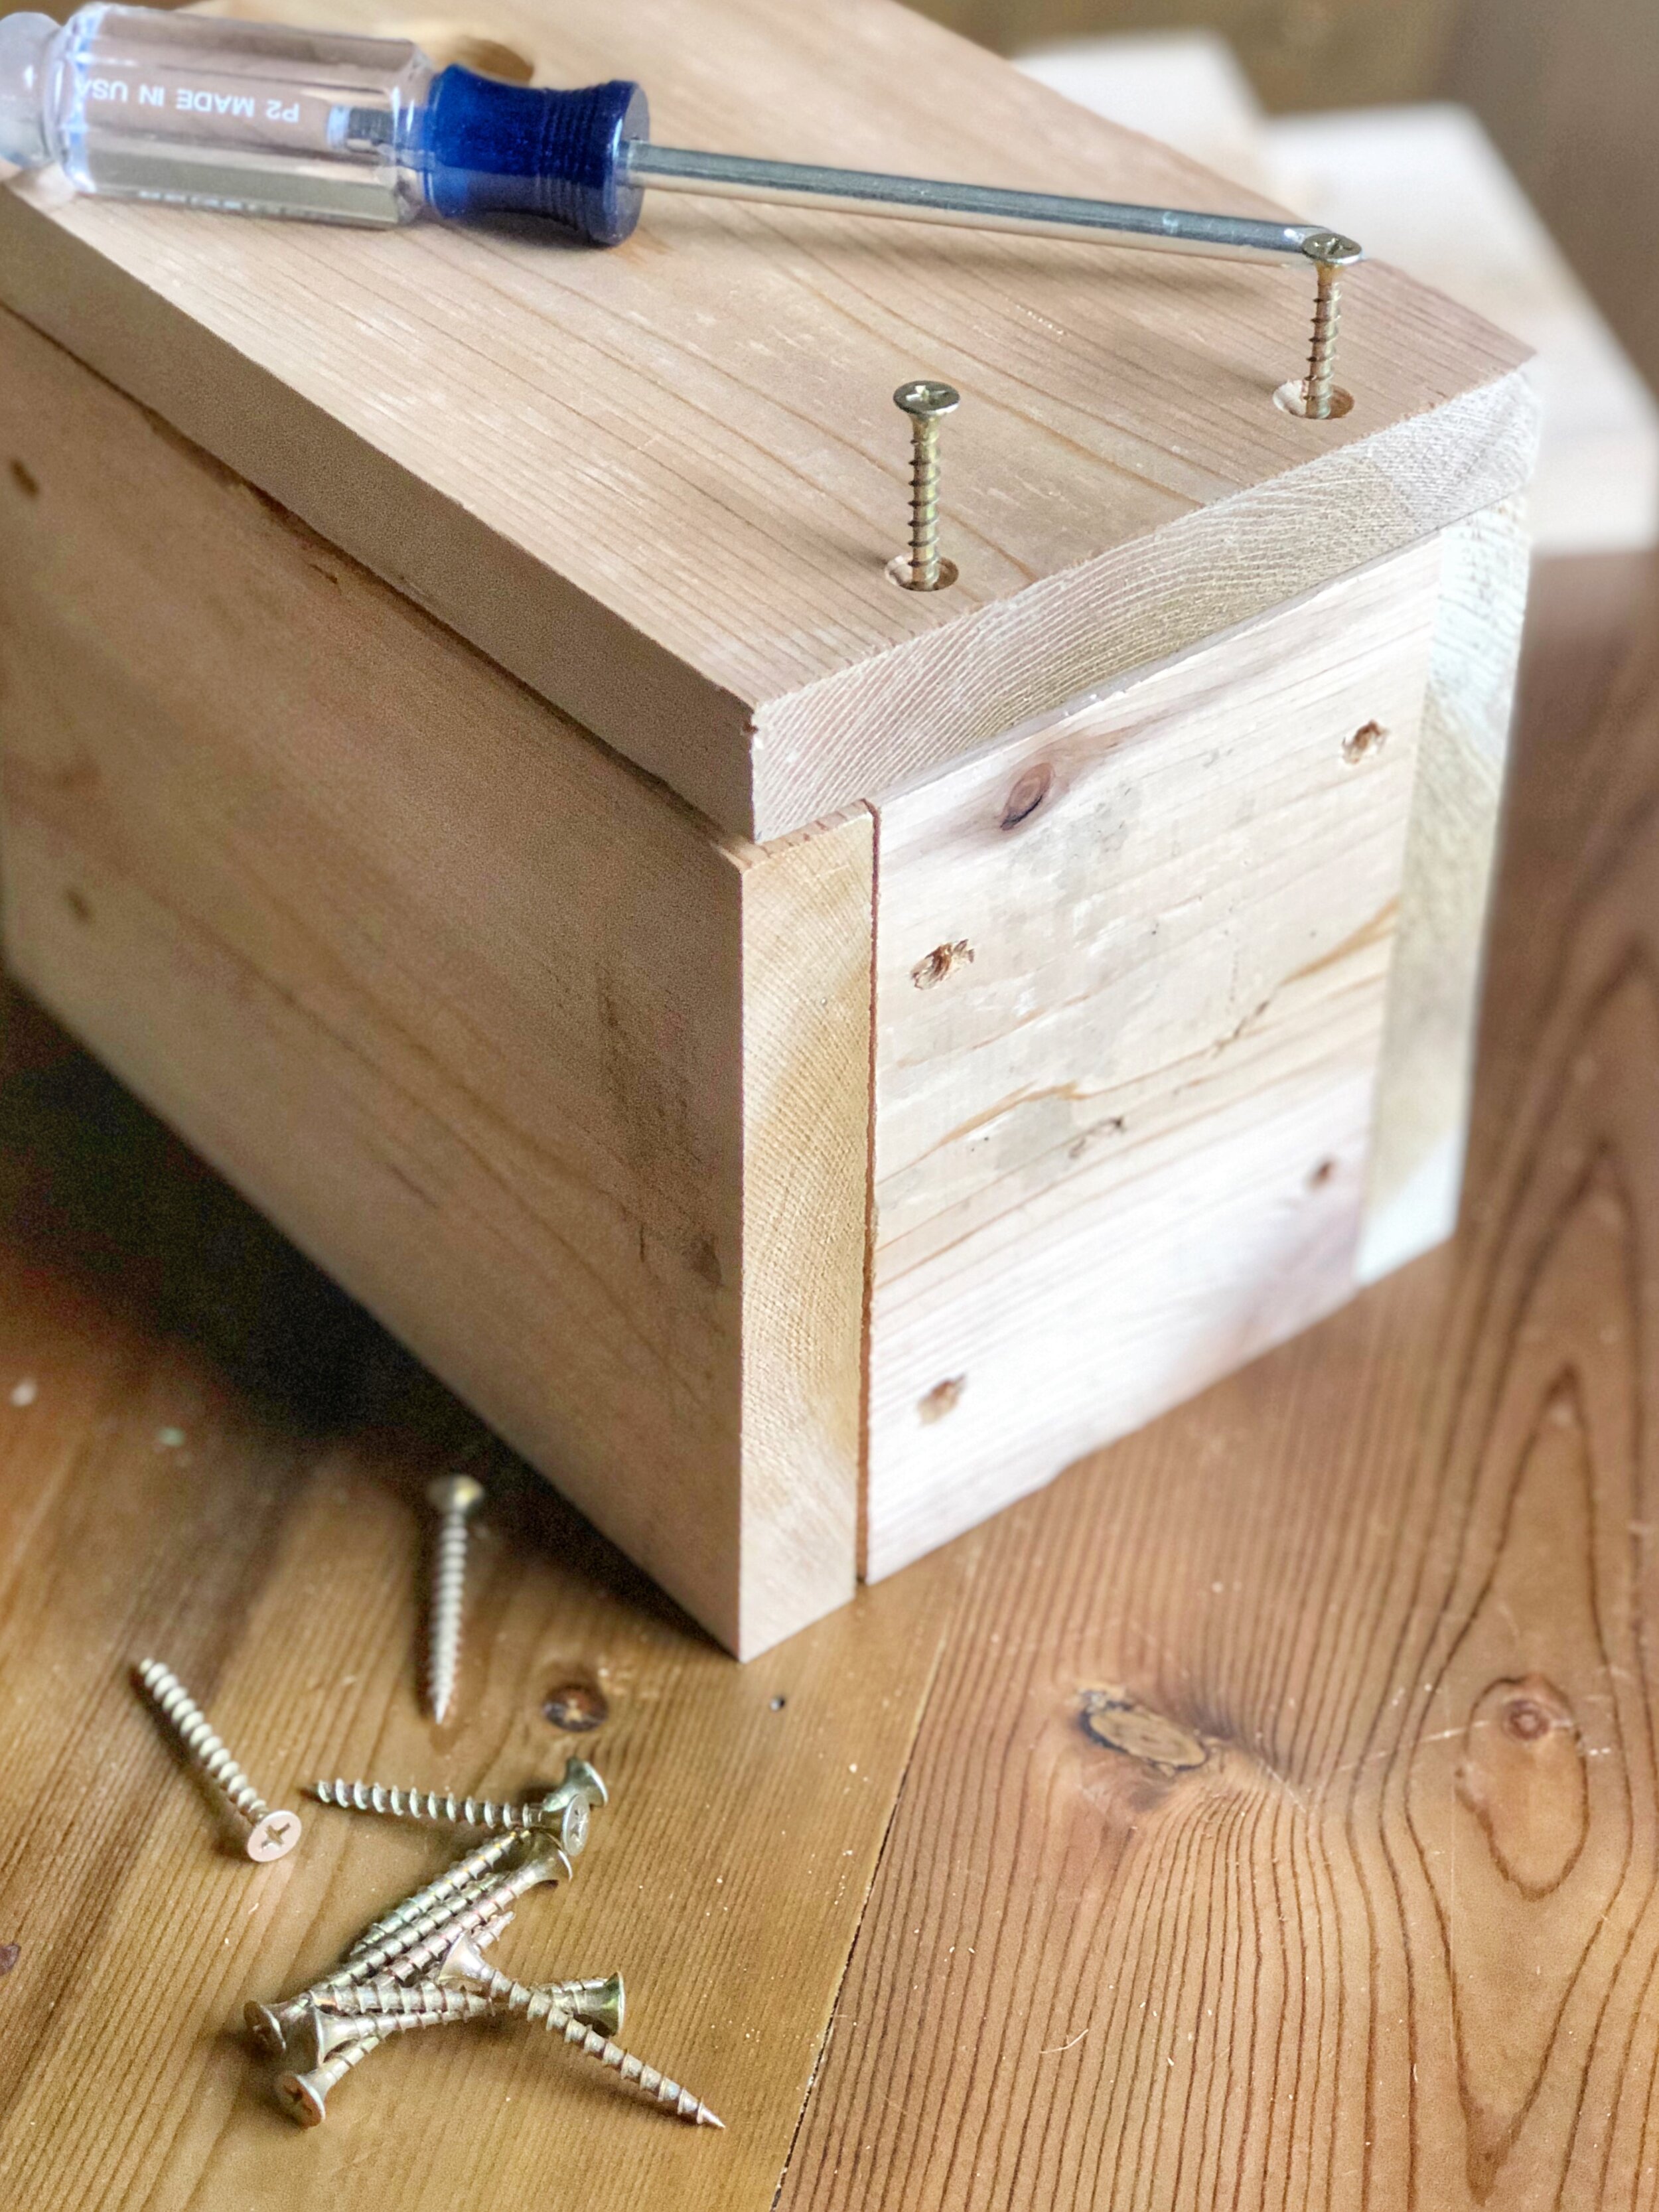
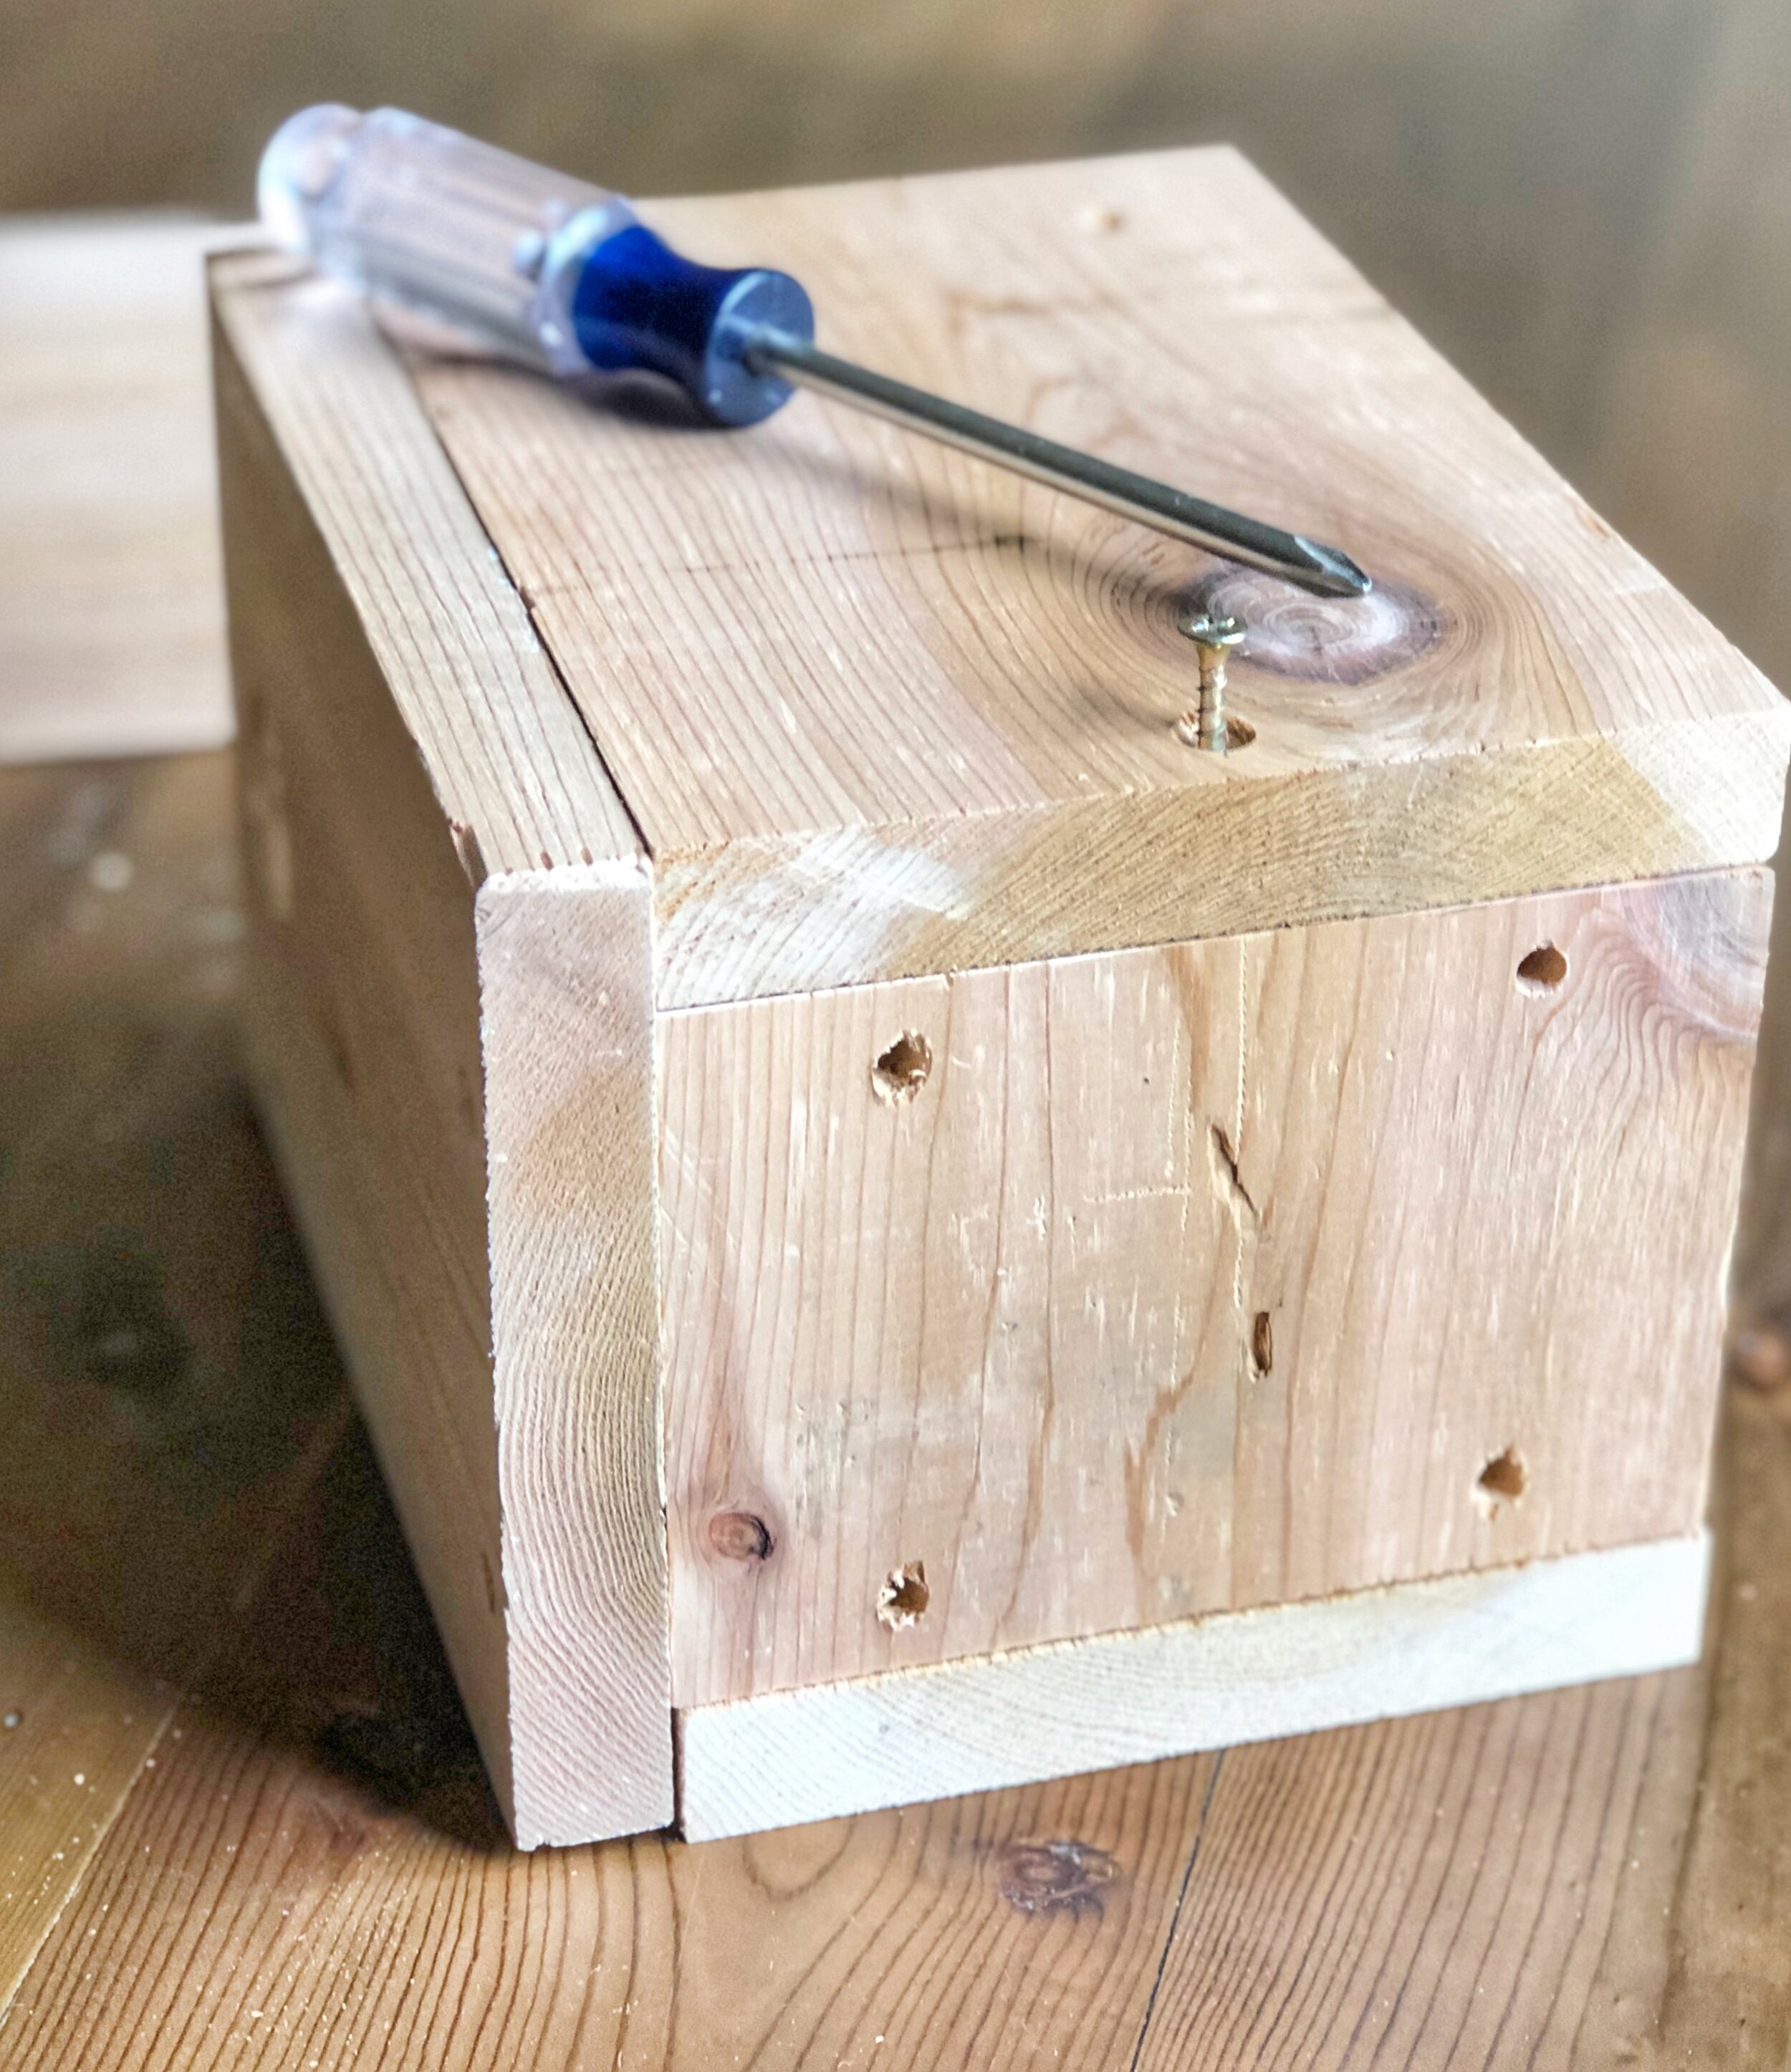
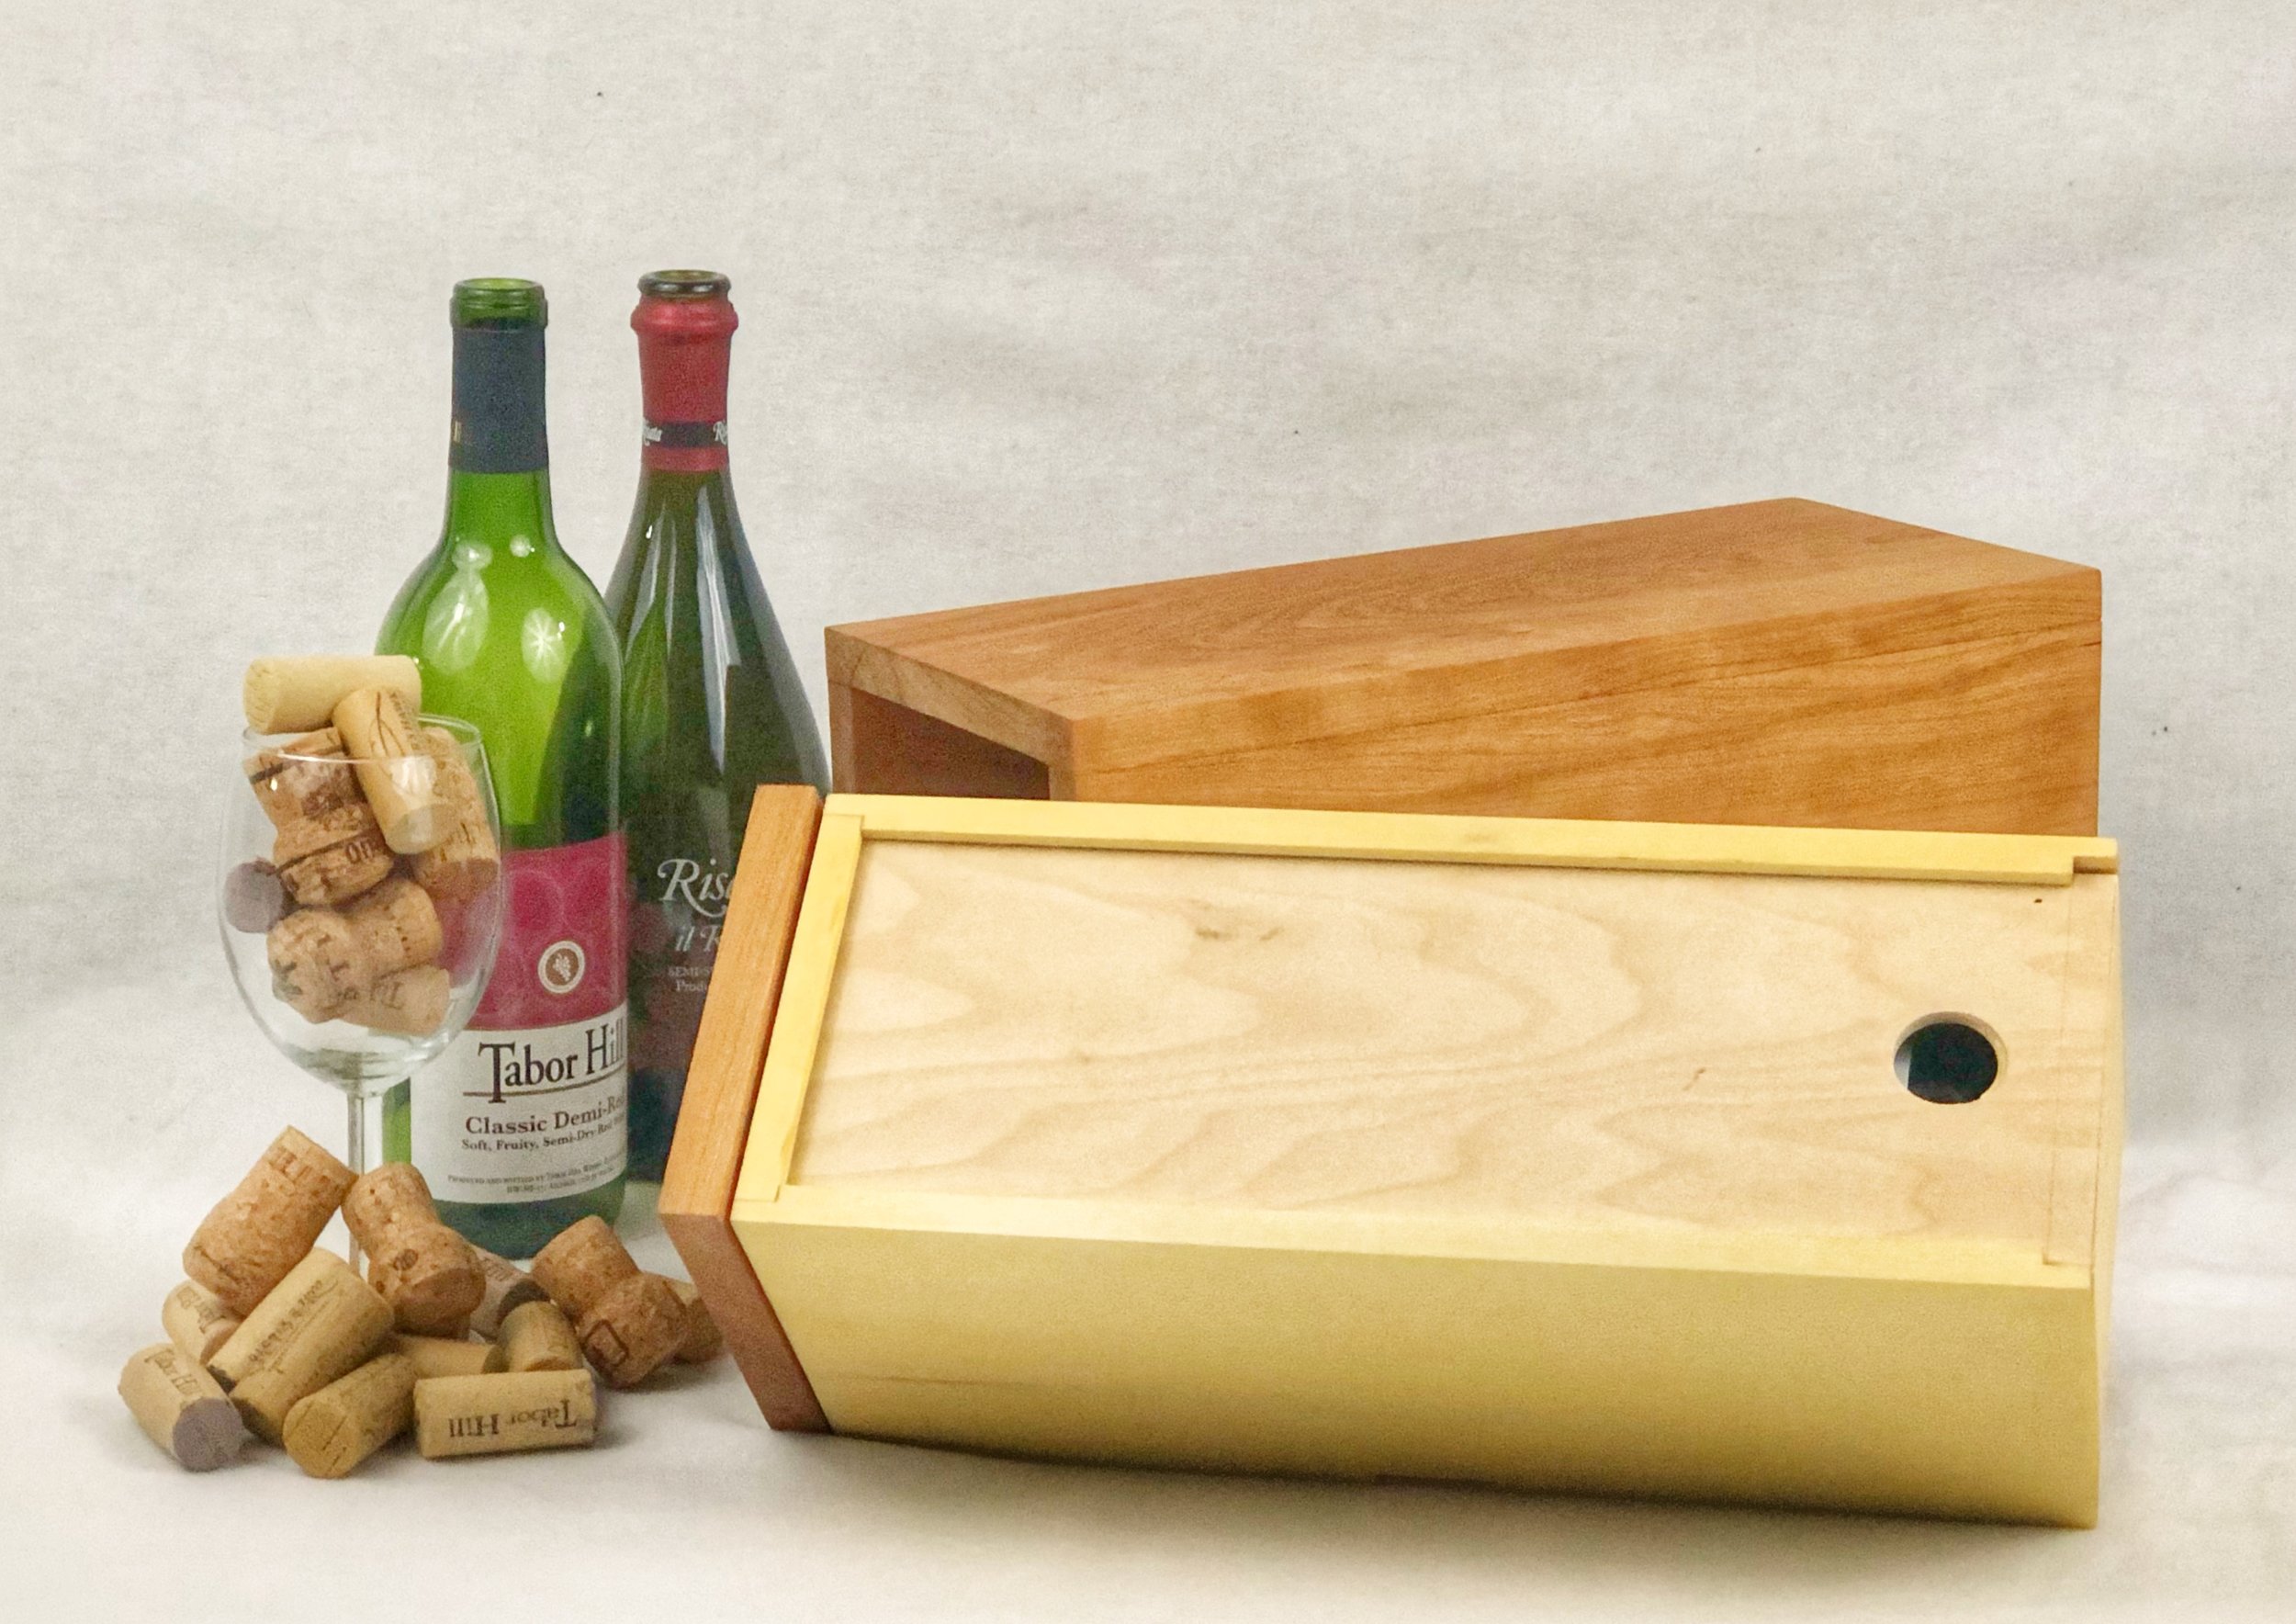
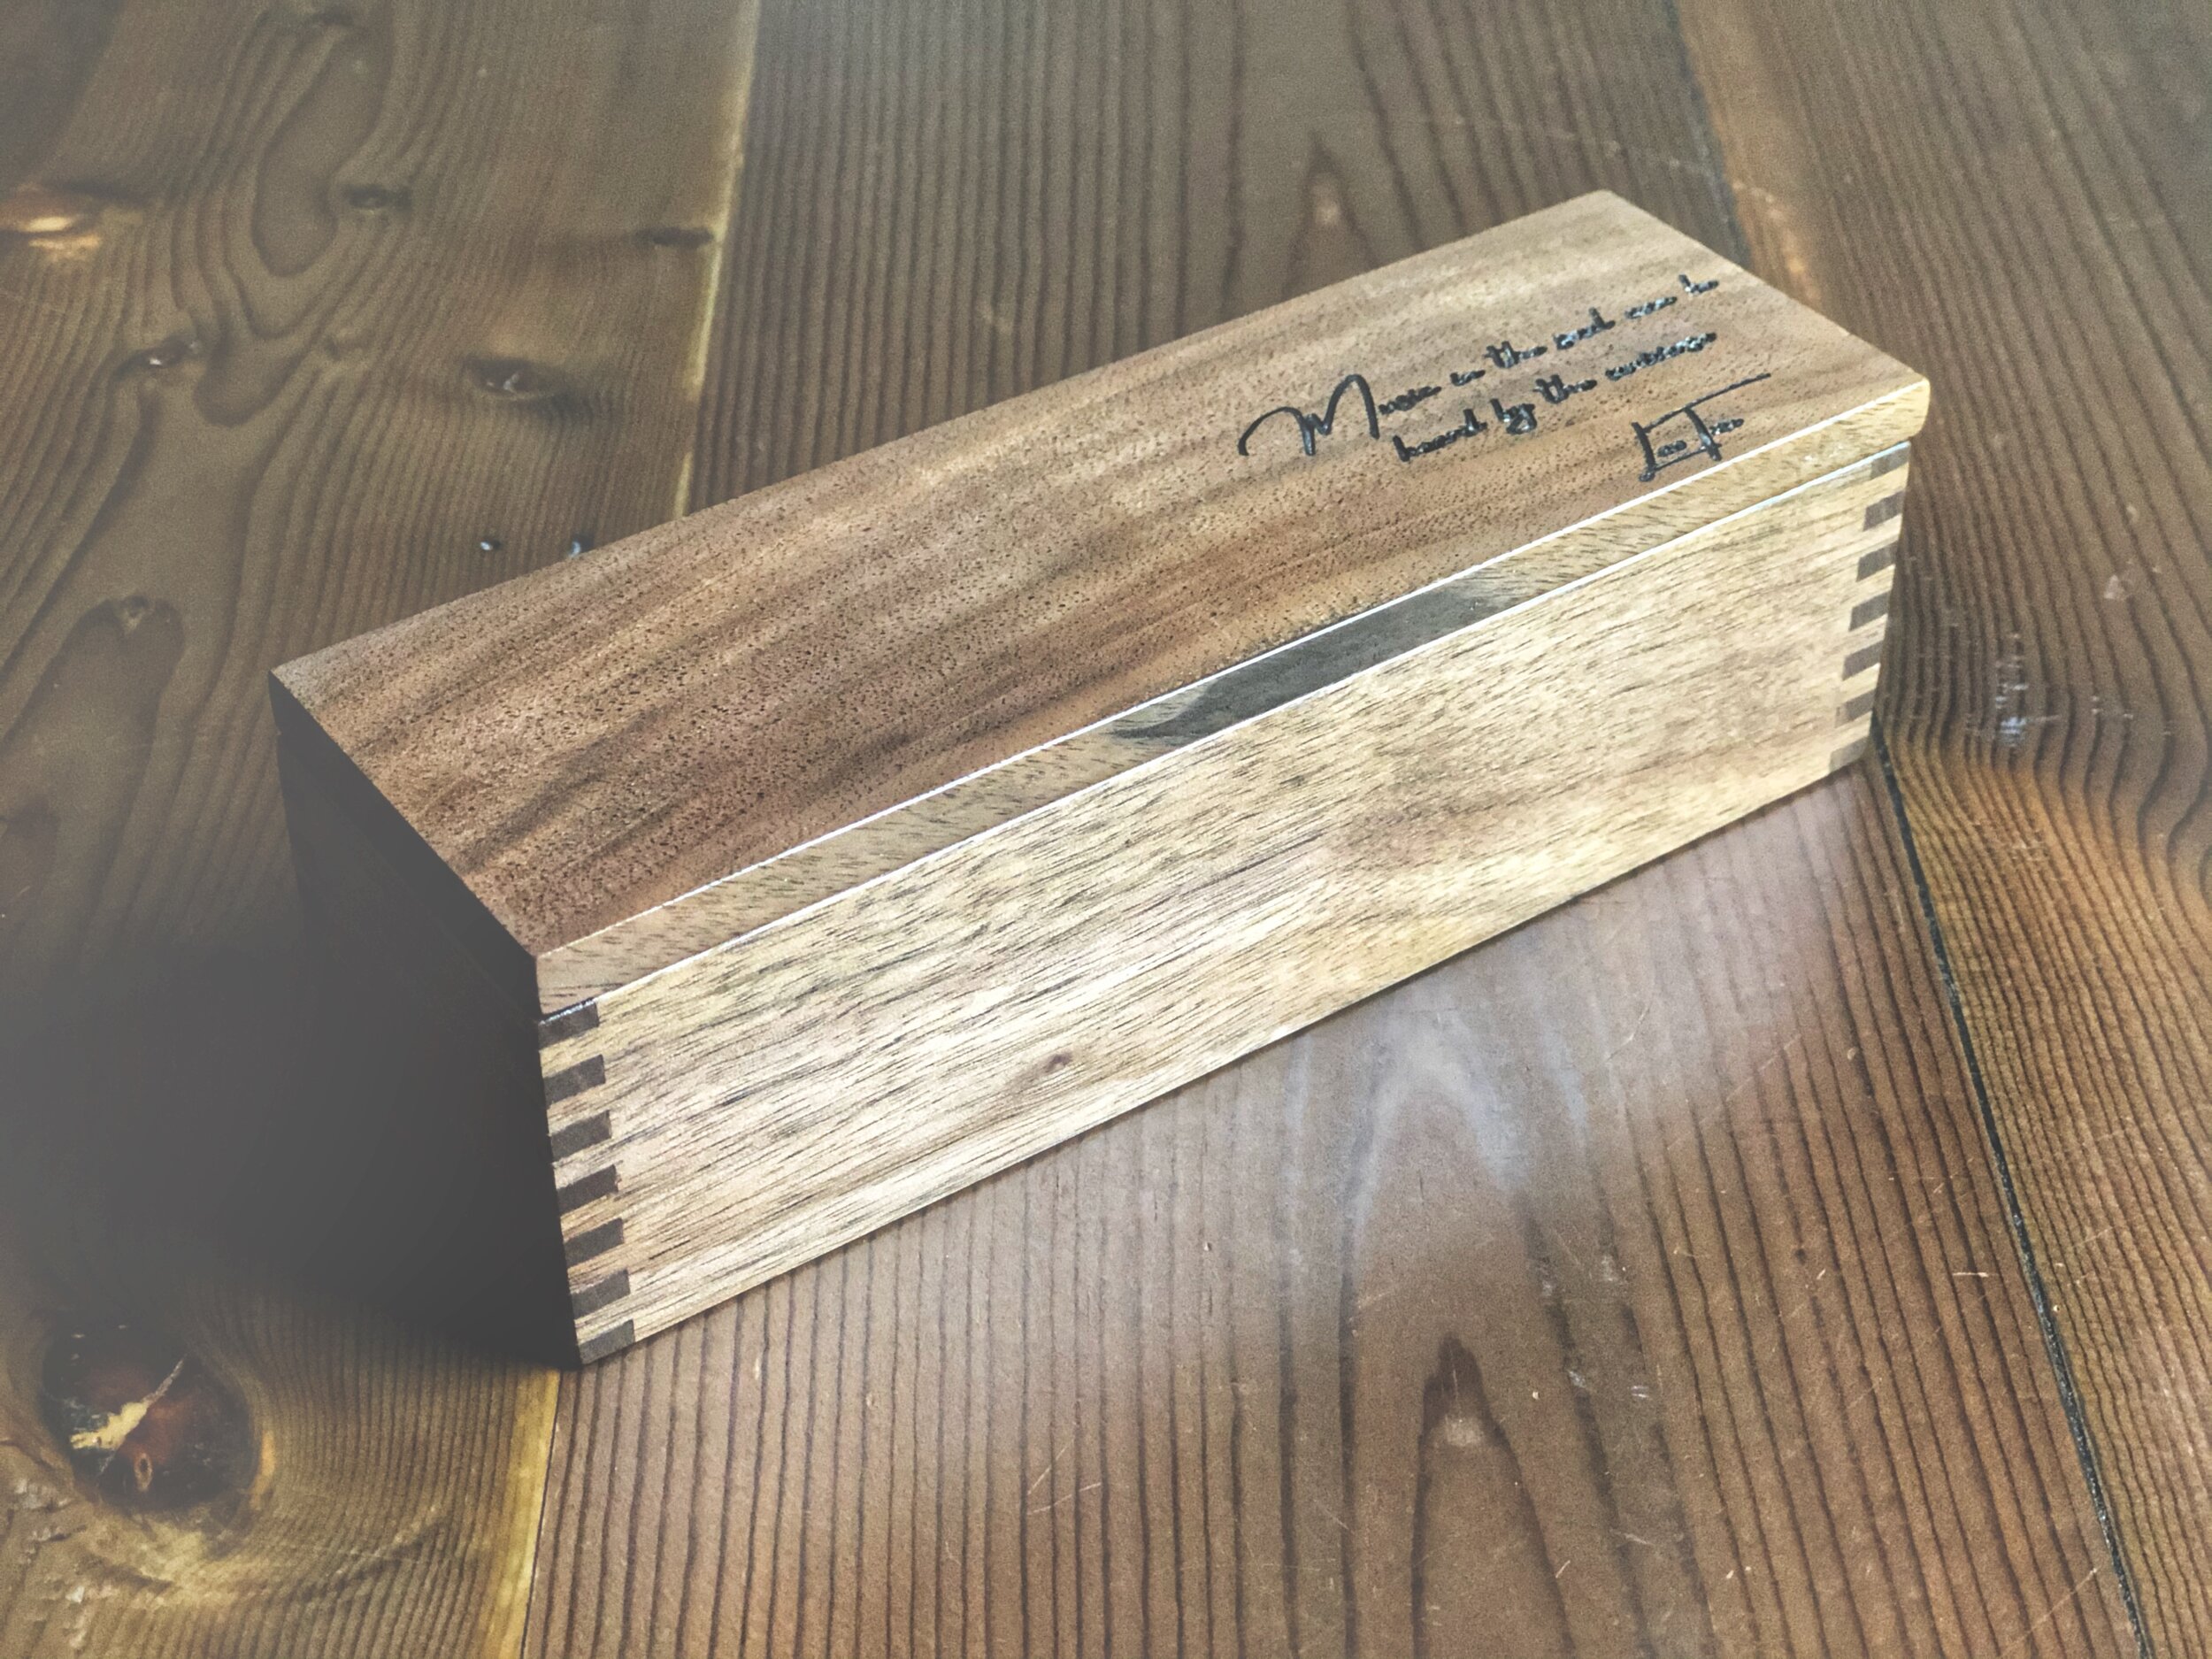
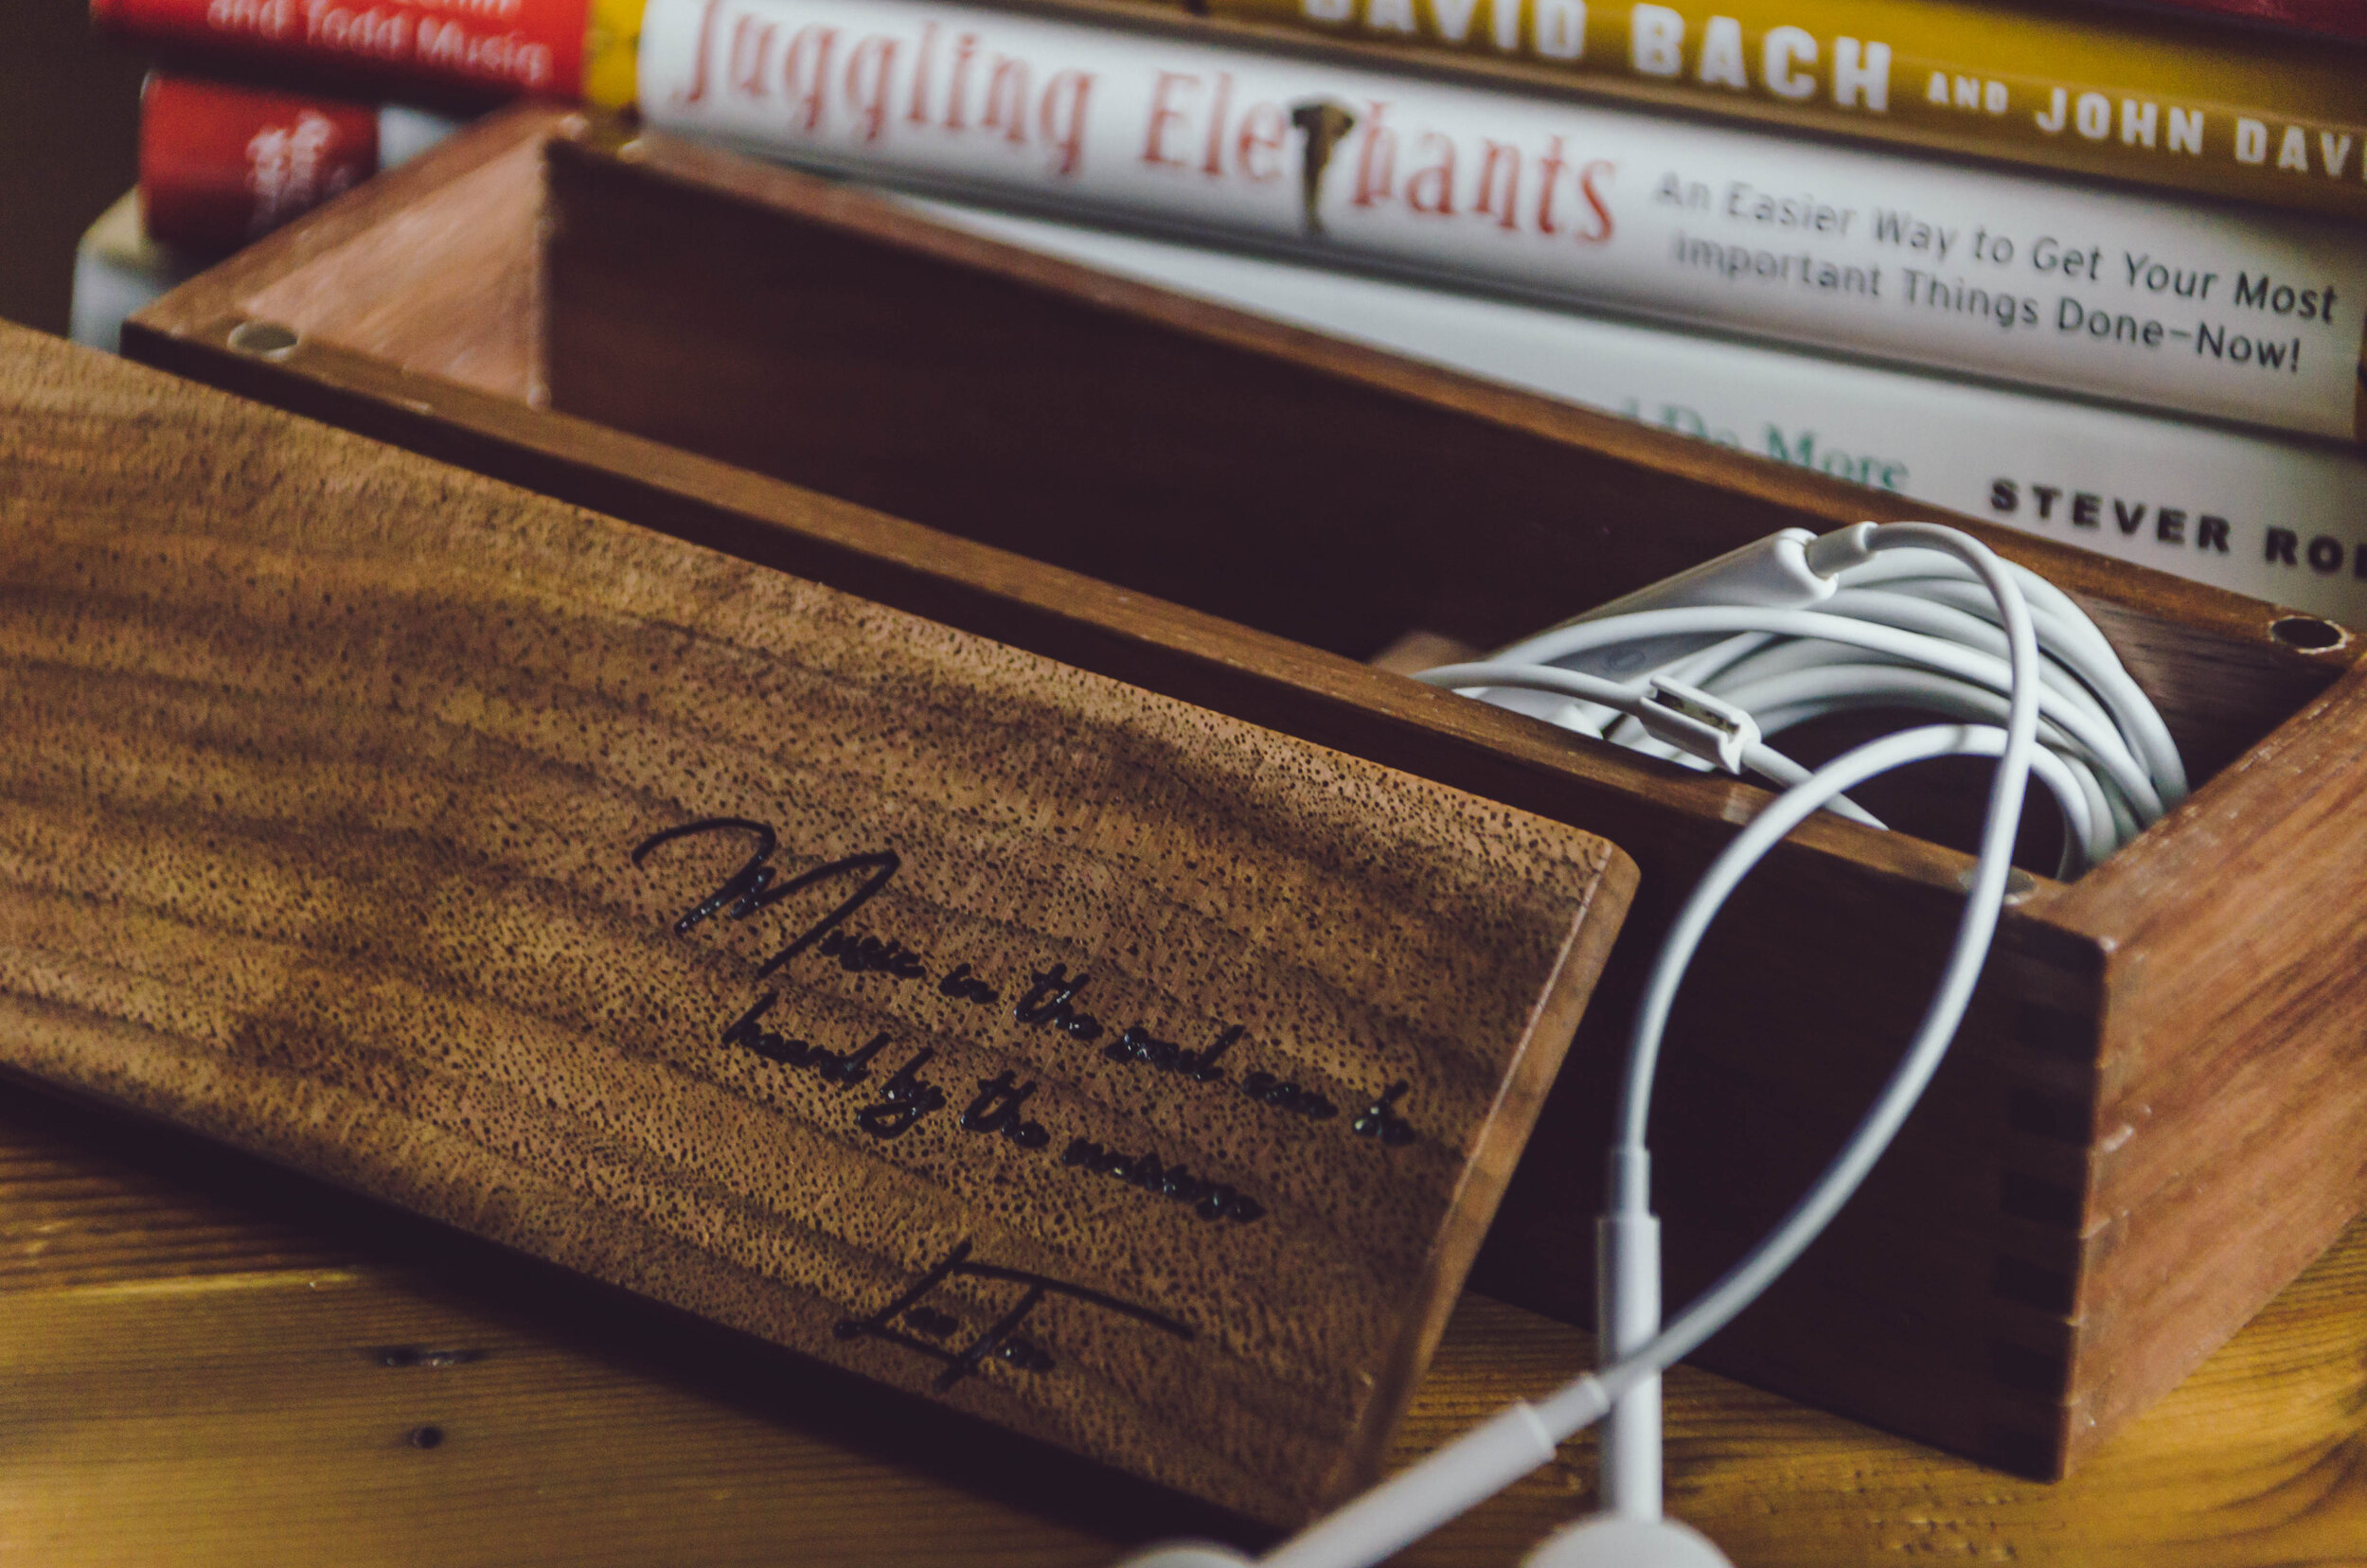
The next item on the list was a desk top audio case that was to hold a small headphone amp and in-ear monitors. The design process started again.

To match the headphone stand, I used more walnut. The case was constructed with box joints, and the interior divider was fitted with the smallest mortises I have made to date.

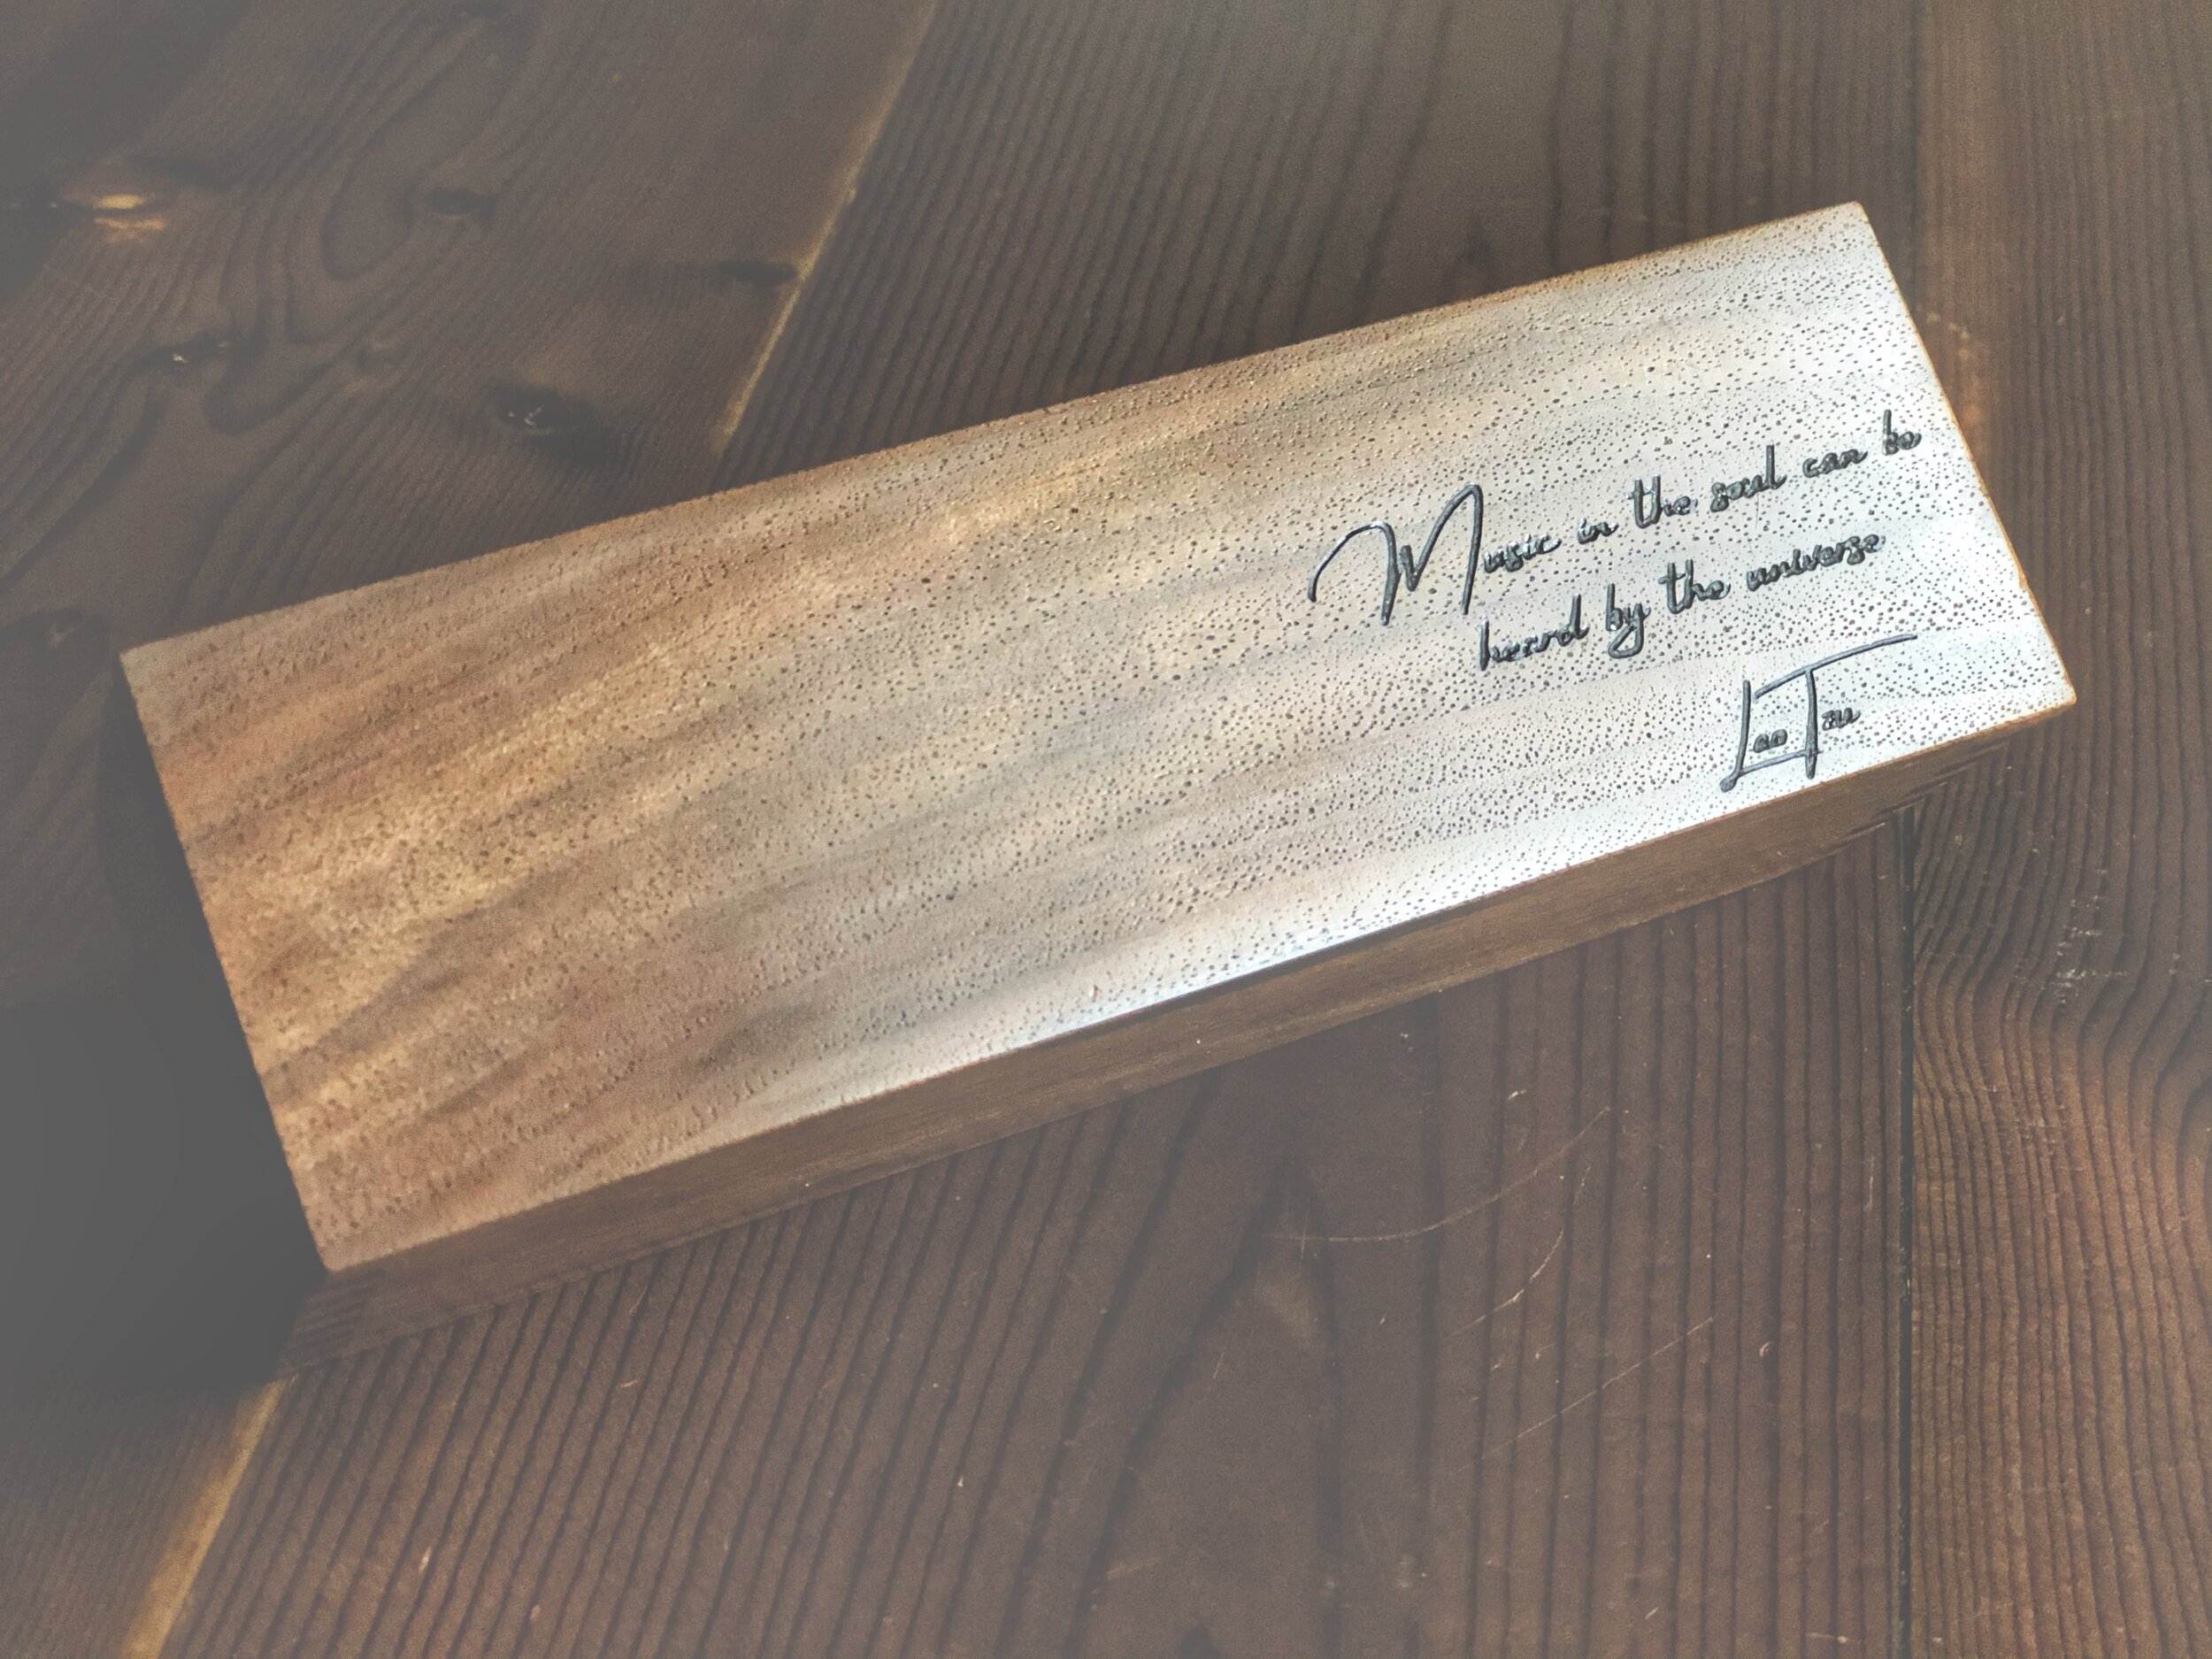
I asked the client for some favorite quotes and “Music in the soul can be heard by the universe (Lao Tzu)” was engraved on the lid. The lid is secured with magnets to hold the lid on tight.

The desktop audio box was finished using the same technique I used on the headphone stand with the same silky smooth result.

As the project progressed I kept in contact with the client to get feedback and to let her know how the progress was progressing. I really this is important to make sure my design is heading in the right direction, and to let the client see the project come together.

When it was all finished I staged the items for some glamour shots and then it was time to head to the shipping department. Each piece was wrapped in bubble wrap and wrapped in some special wrapping paper for some built in anticipation when the package arrived.

In the end the client loved the headphone stand and desktop audio equipment. I really do try to take into account every detail from the design, communication, pictures, and packaging because my clients aren’t just buying a product but I hope they have a great experience. To me that is what makes custom work so special.

Young Maker

How many times have you heard the phrase “They don’t make it like they used to.”

Unfortunately we live in a disposable world. Furniture, computers, phones, just about everything is meant to be thrown away. Take a look around your house. Most of what fills our space is probably cheap disposable junk. But take a closer look and I bet there are some timeless, priceless, pieces of furniture that have been handed down from generations. And I bet these pieces of furniture or other goods would not end up in the “pitch it” pile during spring cleaning.

Why?

I have one guess, and it is because whatever it is wasn’t made like we are used to. There was a time when people were craftsmen. A blacksmith forged metal in a blistering hot blacksmiths shop. A carpenter used old growth, true dimensional lumber to frame walls. The cobbler fashioned shoes. And the list can go on and on, but one thing all of these craftsmen share is they were master’s at their craft.

Before machinery started taking over jobs and furniture was mass produced the craftsmen spent hundreds of hours learning and honing their craft. There was a passion and a sense of pride to create something of high quality that would last.

I’m sure craftsmen of centuries past couldn’t imagine that we would rummage through antique and vintage shops seeking out their work. As a growing craftsmen myself, I know the sense of pride that comes from creating something with your own hands and learning versatile skills. I am learning something that isn’t being taught any more. What I build isn’t mass produced and can’t be found in a big box store. Even if I build the same thing it is slightly different because it is built with hands and not robots. I hope one day the lamps I build or the furniture I build will be sought after as people rummage through antique and vintage stores.

With the Young Makers Guild, I hope to inspire young craftsmen and women to learn a skill and learn how to work with their hands and minds. Technology can grow but we will still need creatives to imagine and build things, learn a craft or trade. Instead of building mass produced junk we can learn about sustainability and build quality, timeless pieces of art. Making, whether it is blacksmithing, woodworking, or sewing all requires the mind to build problem solving creative thinking skills.

I hope I can create what I have envisioned in my head for the Young Makers Guild. There are a ton of big ideas, and I would love to hear any of your ideas or see what you have built. For more updates as the Young Makers Guild gets built out sign up for our newsletter here.

Wooden Beam Table Lamp

Wood and metal. Two strong materials that cities are built with. Two materials I enjoy working with.

I received some large pieces of wood from a friend. They were remnants from a house they were working on (timber frame house at that, my favorite). The chunks of wood sat in the shop, as most pieces do, until the inspiration bug struck.

Some random day the inspiration bug struck and I had a lightbulb moment (pun intended) of what to make with that piece of wood. As with most things when I get an idea everything else will stop, until I can start working on the idea (I don’t want to miss out on the momentum).

I wanted to build a lamp by segmenting the pieces of wood. I had some rebar laying around and the two pieces just went together. Challenge was the piece of wood was thicker than my table saw blade was high, so with creative thinking I rotated the beam around to cut most of the way through and finished the cut with my handy Japanese hand saw. Next came drilling some holes for the rebar to fit. The holes were drilled so the rebar would fit snuggly.

As the pieces were fit together the vision I had in my head was coming to life. I love thinking of an idea and being able to creatively express that idea into the physical world. I also love when somebody approaches me with an idea for something they want built and trusts me to create it for them.

With the last coat of finished applied and dried the light bulb was tightened into the socket. The lamp was plugged in and came to life. I love the sweet glow from the Edison bulb and really think this lamp would look make a great addition to a boutique hotel or a home office.

If you are interested in this lamp or would like me to design a lamp for your space I would love to hear from you.


Wooden American Flags

My sister in law is a realtor in Columbia, TN (@house2hometn). The fire dept just built a new station close to their house and she wanted to bring them a housewarming gift. She asked if I could make a wooden American flag. I said “of course”.

While I was working on the fire dept flag she asked if I could make one as a gift for a police officer and I said “definitely”.

Each flag represents the thin red line and thin blue line to show respect for the firefighters and police officers injured or killed in the line of duty.

As a career firefighter/paramedic and former reserve police officer this project was meaningful.

If you are interested in a wooden American flag fill out our contact form.

Cedar Bird House

For the past couple of years I have been playing around with the idea to create a progressive woodworking for kids and young adults. (To learn the full back story of the Young Maker’s Guild click on the About section of that page). I have been struggling with trying to come up with a “first project” to launch in the guild and just couldn’t find any clarity.

When not at work at my full time job, my wife and I have been at home socially distancing ourselves from the world. Instead of laying around and watching Netflix I wanted to use this time to devote to something creative and productive. One morning at shift change, (I’m a fireman) I heard a couple of the guys talking about how their kids are starting to run out of things to do, and they started resorting to Netflix to keep the kids occupied. That same morning I read an email from Ramit Sethi that really inspired me to go forward with my idea of the Young Maker’s Guild.

Due to the state of emergency the world was in I wanted something I could come up with fast to put out into the world. It is spring time and there are the birds are coming out in full force. I remembered when I was in Boy Scouts we built a bird house.

That was it. It was something simple enough to build for kids of all ages, and a project that may stimulate some creativity. I could start cutting the cedar to put into kits and it was a project available to the world a couple of days later.

I made this bird house out of cedar so it would be insect and rot resistant. I did some quick research and created a house that would suit a house wren or chickadee, common birds in our area. I think I am going to leave this a natural cedar color and not seal it so it can weather naturally.

I look forward to hours of sitting in the kitchen drinking coffee in our house watching the trees come to life and the birds moving into their house.

Interested in your own cedar birdhouse kit? Click the button below.

Wooden American Flag

My brother-in law approached me last fall to build some flags for their organization to auction off at dinners they hold throughout the year. How could I turn away an opportunity to make something so of course I said yes. Taking some notes I had an idea of what they were looking for me to build and I got to work. The flag is made from pine with some colored stain. The flag was lightly burned with a torch to give a bit of a rustic feeling. Working with my shop partner C+C Creative Factory we engraved their company logo in the corner and the stars.

Did you know Maker and Finder can build a custom wooden flag for you complete with your own company logo. These flags would also make a great gift idea. Contact us today!

Wooden Serving Tray

A while back a co-worker of mine asked me if I wanted some “scrap” wood from a family members house. I of course said yes. (I’ll admit I sort of have a problem and may be referred to as a wood hoarder, email me for more but otherwise a topic for another day). What he brought me was a pile of scrap hardwood flooring something I wasn’t expecting but none the less it was free wood. After looking at this pile of wood in the shop the idea came. The wood floor pieces would fit nicely together to form a panel. My wife (girlfriend at the time) had been asking for a tray so she could carry odds and ends upstairs to her office. So with a little creativity I came up with these serving trays. There is a maple bottom and an oak. I was able to make three in total and my friend who gave me the wood I ended up making them a serving tray as a wedding gift.

Fun, practical, and functional project taking scrap wood that was going to be thrown in the garbage and making it into a wedding gift and a staple household item in our house.

Timber Framed Address Sign

The other day, my neighbor and I worked to replace an old rotten fence post. We replaced the old post with a new pressure treated post and got the fence back together. While I was walking back around to our house I seen the old post on his deck and I asked him if he was going to throw the old post away and he said he was and asked if I wanted it.

Its hard to say no to free wood and I had the perfect project in mind.

A couple of years ago I remodeled our house replacing all the siding. When I took off the old siding the house numbers came with and our house has sat unnumbered for a couple of years now (to the dismay of every delivery driver) with the intent I would make something eventually. Well the eventually came when my wife threatened to order numbers for the house because we were getting ready to host a BBQ at our unnumbered house.

Since the old fence post was western red cedar and I have been wanting to practice traditional joinery I went to work on this simple design. I cut the rotten end off the post, a few trips through the planer, table saw, and band saw later I had pieces resembling something. I made a large mortise and fit the through tenon and secured everything with some dowel. The CNC machine went to work carving numbers out of black walnut and the plaque is made from cherry. Everything got a few coats of spar urethane and I hung the address plaque with some copper wire.

All in all I was very happy with the end result. Instead of digging a deep post hole I used a spike the post sits if we ever decided to move the post.

If you are interested in your own post and beam address sign contact us today.

Barn Beam Chandelier

I got the idea for this hand hewn barn beam chandelier one day while browsing Pinterest. It looked like a great way to add a big bold statement in a room with a chandelier. After seeing the idea on Pinterest I filed it away in my head for later use.

Fast forward some months and my wife and I were browsing through one of our local antique malls. I remember seeing an old barn beam there on one of our previous visits and after telling her about my idea and remembering seeing the beam we decided to go see.

Sure enough there it was, an old barn beam tucked away in the corner of an antique booth in the mall. The hew marks were beautiful and a testament to the hard work put in shaping the timbers. There was a tenon with a peg hole and a mortise too with an old peg. So we lugged the timber to the cash register and went on our way with the beam.

After getting home that’s when the work started. Holes were drilled, wires were ran, and wires were spliced. Bulb sockets were connected and lightbulbs were screwed in and then the moment of truth. The beam was wired up and the switch turned on and all seven bulbs lit up.

Chain was added to hang the chandelier and give it an industrial look and chain might have been necessary given the weight.

All in all the barn beam chandelier was a lot of fun to build and would make a great addition to any kitchen, restaurant, business, or place where you desire a unique light sure to turn heads.

Wooden Engagement Ring Box

This by far is one of the most personal and meaningful projects I have ever done. Let’s begin by saying I never do anything “simple.” If there is anything that can be over complicated or taken to the next level then that is where I take it.

Last summer (2018), I knew it was going to be the year to propose to my then fiancé. So as I went around to the different jewelry stores shopping for an engagement ring, there was something in my gut telling me I had to build a ring box. I mean I make things so this was kind of obvious.

I spent many sleepless nights lying awake designing and re-designing in my head the perfect ring box. (Side note, many of the projects I come up with get designed in my head late at night before they are sketched out on paper). A box with four sides and a lid was just too simple, so back to the late night drawing board.

Alas, the time was drawing near. I was on vacation from my full time job and I had a date in my mind that I was going to propose. I had began making some different iterations of the perfect ring box. As the date was drawing near I had the idea of what I wanted to build. A tall skinny, square box. I wanted the side to slide out and that piece hold the ring. I wanted to somehow incorporate a sliding dovetail. I had the perfect image in my mind and made plenty of firewood getting the perfect fit. The next concern was is the ring going to fit? (I had not bought the ring yet.)

Yes. I came home with the ring and hurried out to the shop. Last minute finishing touches and the ring fit.

The next day all the pieces were falling together and off to Chicago we went, me, a beautiful ring box, and an unsuspecting girlfriend soon to be fiancé. It was a freezing cold rainy October day in Chicago. Good thing I’m better at making things than planning them because I should have know Lurie Gardens in Millennium Park would be a dead garden, not the most romantic backdrop. After I got down on one knee, I pulled out the ring box and to her surprise I asked her to marry me. She said “maybe” (which was a yes!) and we started laughing at the ridiculousness of the whole day as we made our way to a taxi, teeth chattering and all.

This was a project that brought me so much joy and was so fun and rewarding to build. Seeing the look on her face was priceless and we both agreed, of course I would have built an engagement ring box. So the rest is history, we attempted to plan a more traditional wedding but ultimately decided to elope and I have an amazing wife who has a pretty awesome ring box and we have a ridiculous story.

Vintage Milk Strainer Pendant Light

This is another piece we found from our friends Pat and Linda (P&L Rusty Iron). After a recent trip out west they invited us over to show us what they found. This old milk strainer was sitting out in front of the barn.

Immediately after seeing it I knew it would make a perfect pendant light. There was a beautiful rusty patina that would just glow with an Edison bulb. The next problem would be how to hang the light. Alongside the barn there was some old chain hanging. Pat told me it was old farm equipment chain and the milk strainer and chain made for a perfect combination.

After bringing the parts home I went to work creating this pendant light from the pieces we found. This light would look amazing hanging in a farmhouse kitchen, or in a restaurant.

Fire Extinguisher Lamp

As a firefighter by trade, I am naturally drawn to firefighter decor. I have seen the traditional fire extinguisher lamps that use an old copper extinguisher. I had a vision for something a little different.

I had found an old carbon dioxide extinguisher at a flea market and was able to negotiate a bargain. As the extinguisher sat in my house I thought how it would look good as a lamp. Instead of using a pull chain or a nob to turn it off and on I thought, what if you could squeeze the handle. I set off to the hardware store and bought some lamp making supplies. This was my first ever try at a lamp and with a squeeze of the handle the Edison bulb illuminated and thought I was on to something.

This was in the pre-Maker and Finder days but there was a feeling of satisfaction finding something and re-pourposing it into a piece of functional home decor. When family and friends would stop by they would all comment on how great the lamp turned out.

After creating Maker and Finder, I used that lamp as a prototype to make another. So this is an old American LaFrance carbon dioxide extinguisher turned into a lamp. just like the first one I made, to turn on you squeeze the handle and watch the beautiful glow from the Edison bulb.

Christmas Ornament Gifts

In May of this year (2019), my then fiancé and I hopped on a plane and traveled to Italy. Mission: get married. (Long story of how we ended up eloping to Rome, we will just say lots of drawbridges). When we decided to elope to Rome, one of the first things we needed to find was a photographer. So with the help of Google, we found a photographer to capture our big day. (Rochelle Cheever)

Little did we know how absolutely incredible Rochelle would be. She was one of, if not the key factor, in making our big day as close to perfect as it could have been.

While stopping around Rome for pictures, Rochelle would pull out a light meter and just rave at how beautiful the light was. This led to us (me-Joe), to giving Rochelle a hard time all day long about the beautiful light. Luckily for us Rochelle had an awesome sense of humor and this made for an inside joke that will last forever.A

A month or so after our wedding Rochelle sent us our thumb drive with our pictures, a cool little ring dish, and a note that said not to forget the light meter. Super thoughtful and awesome surprise. So we wanted to send a thank you gift back to show her our appreciation.

It has started to become a tradition with some of our past customers to add a little something extra with their order, an ornament of our home state (Indiana) and one of theirs. To the CNC I went. I had some cherry left over and made ornaments of Indiana, California, and Italy. But this wasn’t enough. I had to find a way to make something that resembled a light meter. I custom designed a light meter ornament from cherry with walnut inlays. Now every Christmas, Rochelle will look at her tree and say how beautiful it is.

This was one of the most fun and meaningful projects. I got to up my CNC game and designed something completely from scratch. If I had to bet, I think there will be more Christmas ornaments on the horizon.

Book Lamps

We love to read. One day while browsing the internet I seen a picture of a stack of books turned into a lamp. The light bulb went off! A friend of ours runs a book store that sells $1 books. We made a stop at his store went home and turned some old books into book lamps. And these are some of our favorite projects. Finding something and making it into something beautiful.

Barn Wood Mail Organizer

Our friends Pat and Linda from P&L Rusty Iron, go out west a couple times a year and pick old homesteads bringing back found treasures. While picking through their recent haul, we found some old rusty bins, some barn wood, among other things. We brought everything home and tucked it away in the shop. Like most things I make, I don’t start until I have some sort of vision in my head. How neat would it be to make a mail organizer from the bins and barn wood. The bins are believed to be from an old grain conveyor, lying in a field just rusting away. The barn wood has a beautiful weathered patina. The combination of the bins and wood is gorgeous.

Two seeming ordinary “junky” things wasting away in a field brought together to live another repurposed life. This is why I love what I do and is the spirit behind Maker and Finder. Make. Find. Create.

Sliding Dovetail Wine Box

This was a commissioned piece from a customer who wanted a custom wine box for a birthday present. She gave me an idea of a wine box that she had seen that had a piece come off the side, a key, and that allowed the inner box to slide out. After thinking about it, I had an idea come to mind that involved a sliding dovetail as the key. I set out building this project with just a vision in my head. As the build progressed the more inspired I felt seeing the finished product come together. The inner box is made from aspen and the outer box is made from cherry with black walnut for the feet and sliding dovetail. Our customer said the person receiving the gift really liked lions and we were able to incorporate some lion heads as handles and a pull to pull the inner box out.

I really like starting projects with an idea and setting out to see if I can turn the idea into reality. Sometimes you have to be flexible and be willing to adapt and change but almost all the time the finished product turns out better than expected.

Queen Bed Frame

The inspiration for this piece came from being tired of sleeping on a mattress on the floor. My wife and I ordered a new mattress (GhostBed super awesome by the way no affiliate just giving credit where it is due) a couple of years ago with the intent of me building a bed frame. After years went by and the threat of ordering a bed frame from IKEA the wheels quickly got put into action. I wanted to build a bed with traditional joinery and using no nails or screws. My other criteria was to use a wood that would stand the test of time and did not start with a “P” (sorry pine or pallet wood). The bed is made from 8/4 (1.5”) cherry and the legs are an interlocking half-lap joint. This project was a challenging skill builder and a ton of fun to build. The cherry has already started to deepen in color with time and the thought of this bed being passed down generations as a heirloom piece has been very satisfying. Looks like Koa the shop dog loves it too.